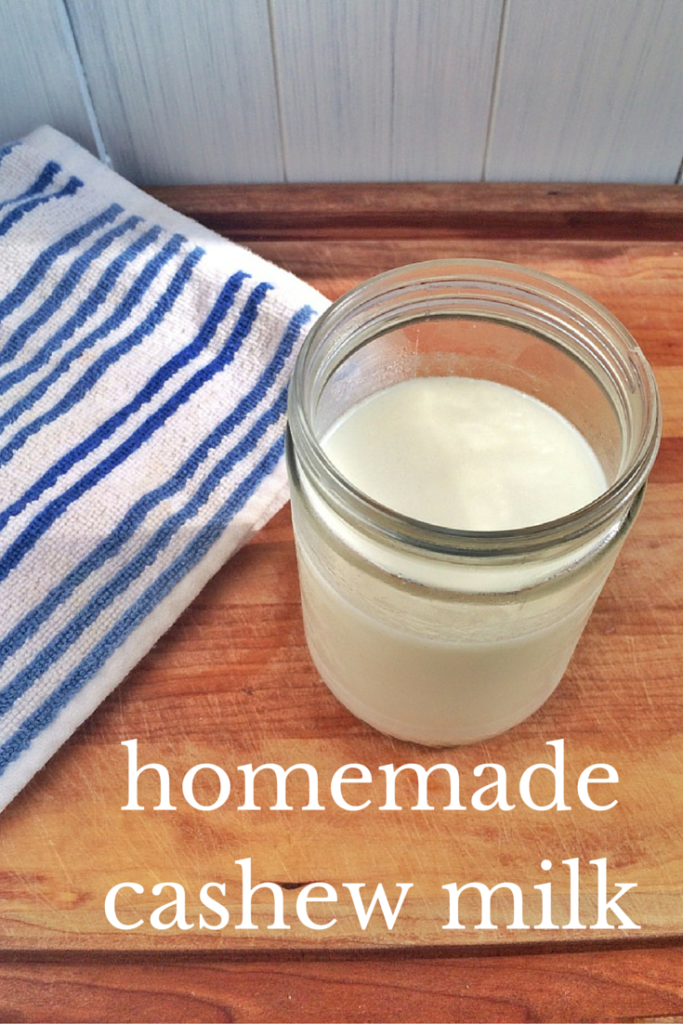
It may appear like such a daunting task to make your own nut milk. It seemed a little too Suzie-homesteader, and it never actually occured to me that it was something I could even do. But when I finally did it, I realized how stupid easy it is and has way more benefits than buying it.
Why should I make my own nut milk?
- First of all, the store bought version is kind of a rip off, because there’s less than 2% of almonds in a carton of almond milk. Most of it is water, added flavors, vitamins and thickening agents. So you’re getting very expensive water.
- Secondly, have you ever looked at the ingredient list on the back of a nut milk carton? It’s longer than you’d expect, with unpronounceable words, so I’ll just give you the copy/paste version from google:
Almond Breeze Original Almond Milk: ALMONDMILK (FILTERED WATER, ALMONDS), EVAPORATED CANE JUICE, CALCIUM CARBONATE, SEA SALT, POTASSIUM CITRATE, CARRAGEENAN, SUNFLOWER LECITHIN, VITAMIN A PALMITATE, VITAMIN D2, D-ALPHA-TOCOPHEROL (NATURAL VITAMIN E).
- With 7 grams of sugar per cup you are getting a good portion of sugar from what we all consider a health food. A woman should have 25 grams of sugar per day. And the Vanilla variety has 13 grams of sugar per cup, yikes!
How do I make it?
- Soak 1 cup of cashews or almonds (I prefer cashews) in water. Soaking them overnight or for several hours helps make them softer and it breaks down the phytic acid and enzyme inhibitors in the nuts.
- In a blender, mix soaked nuts with 3-4 cups of water. I give a range because everyone seems to have differing opinions. Judge how much you need to make and how big your container will hold. It’s not rocket science. It will come out good either way.
- Optional additions for flavor can include dates, honey, maply syrup, vanilla, cinnamon and nutmeg. This part is up to you depending on how sweet you want it!
- Optional: Use a cheese cloth to strain out the contents of the blender and separate the liquid from the pulp. Squeeze every last drop of liquid out. HOWEVER, if you have a really great blender you might not even need to strain it.
- Store it in a jar in the refrigerator for up to a week. But if you’re anything like me it will be gone in 2 days.
And done! Enjoy it in smoothies, over granola or just by itself.
Bonus recipe!!!!!!
OK so what do you do with the pulp that is left behind? The first time I ever made cashew milk I just thew the pulp out, feeling like I had met my home-made quota for the day and was ready to sit on the couch. But it’s a lot of valuable food to waste and there’s a lot that you can do with it.
So here are some ideas of what you can do with it:
- Preheat the oven to 300 degrees. Roll or pat down flat the pulp onto a lined cookie sheet or in a baking dish. Bake it until the edges are lightly toasted and then you have crackers (15-25 minutes). You might also want to sprinkle it with salt, pepper, rosemary, thyme or any other herb you like in a cracker.
- Take that one step further and instead of using it as a cracker, wait till it cools, crumble it with your hands until it’s fine and mix it into your favorite granola recipe. In the picture above I mixed it with brazil nuts, honey, coconut milk, and cinnamon becuase that’s what I already had lying around.
I definitely encourage you to try to make your own nut milk just once. It’s faster and easier than you think!


