by Caroline | Mar 12, 2017 | Recipes
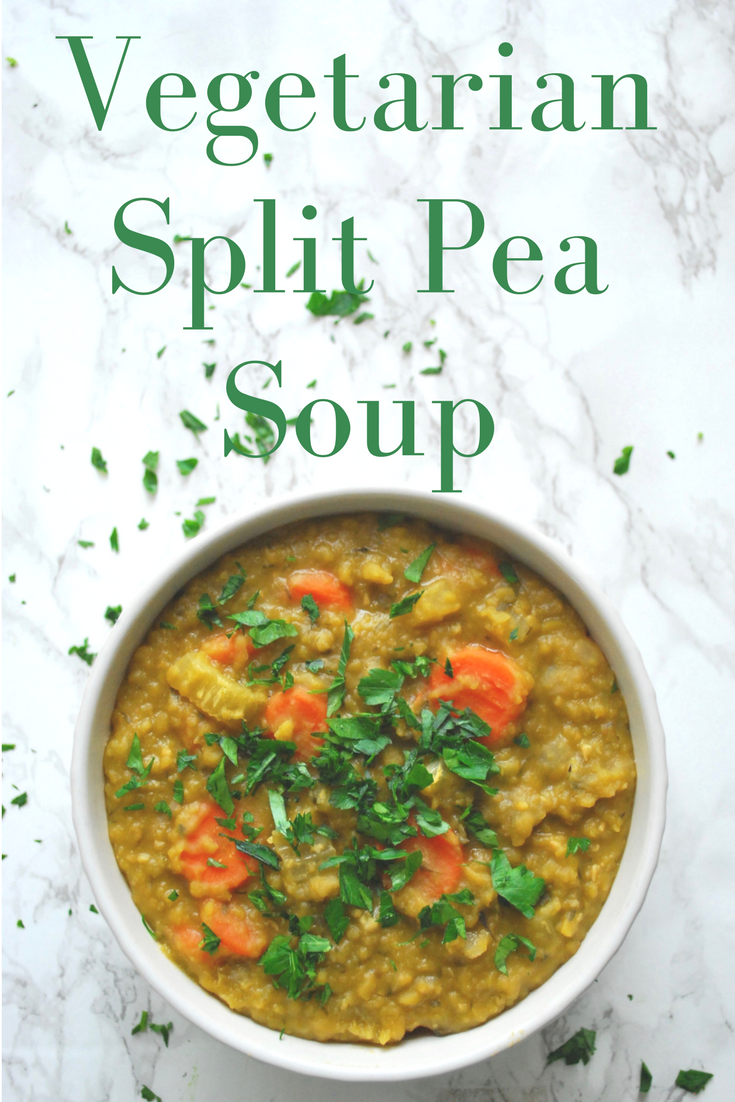
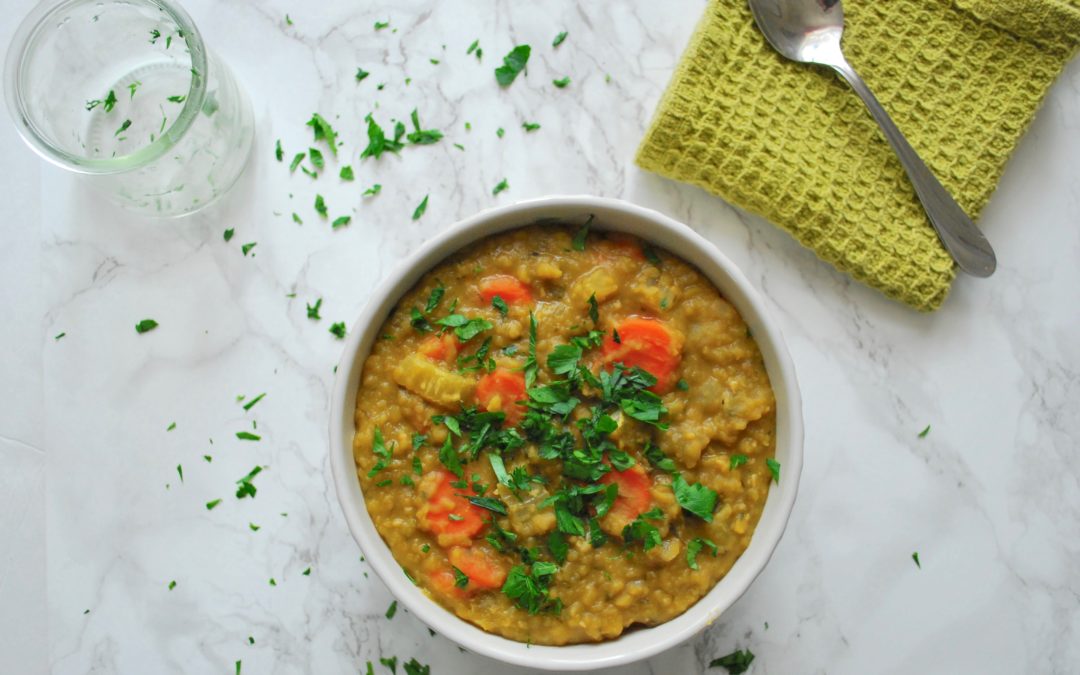
Vegetarian split pea soup is now one of my favorites to make. I’ve never been a fan of peas, so I always avoided split pea soup. The color and texture never appealed to me anyway, let alone the fast that there were peas in it. But the weather here lately has been a little unsure if it’s supposed to feel like winter or spring. I wanted to come up with a recipe that would be warming and hearty to bring balance to the cold and windy elements outside. However, I’m also am so ready for spring foods and light bright veggies! I decided that a healthy vegetarian split pea soup had both of those qualities.
And it’s even more perfect that we’re supposed to get like a foot of snow in a few days so I’ll have a nice warm soup to get me trough the storm!
Seasonal Eating
Carrots and peas are both seasonally springtime vegetables. They are light in flavor and don’t have too much heavy flavor about them. At the same time they are both grounding and dense in texture. Am I making any sense with this light vs heavy stuff? It makes sense to me so we’ll go with it. Split pea soup it is!
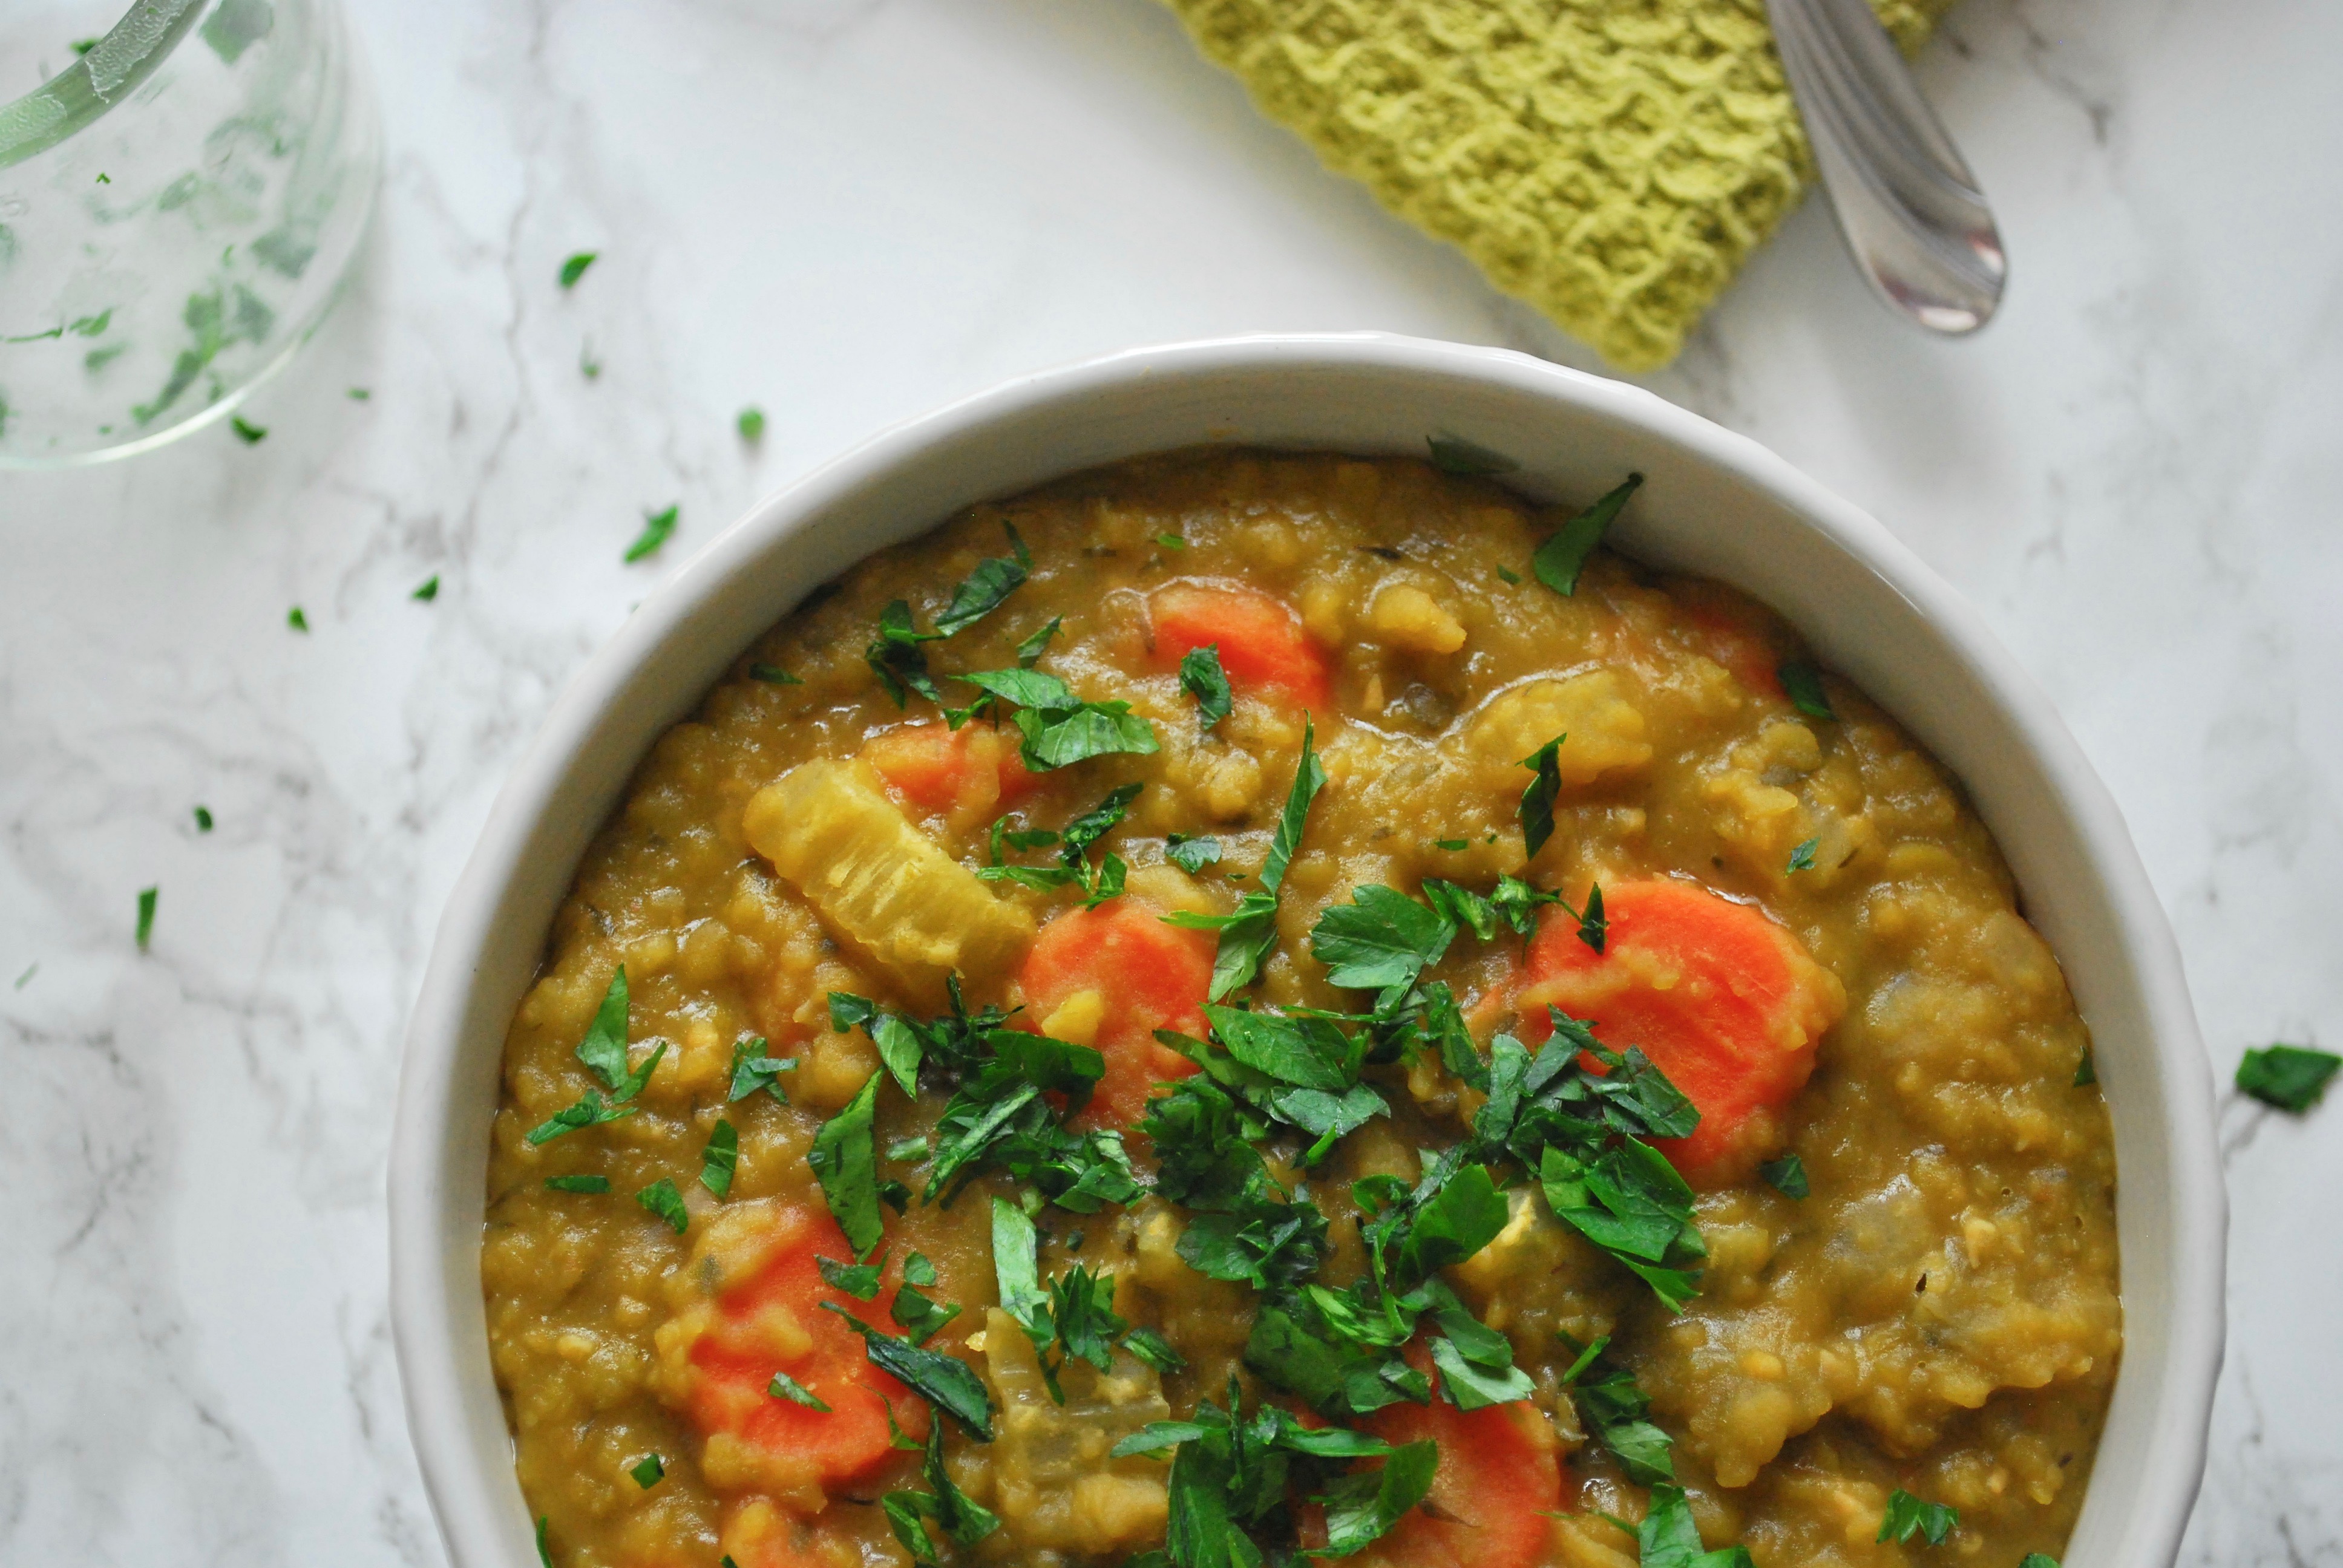
I wanted to make this as easy as possible with a few basic ingredients so you don’t have to buy a ton of stuff. Aside from the produce most of these ingredients you may already have in your house.
Ingredients
- 1 small onion chopped
- 1-2 garlic cloves minced
- 1-2 bay leaves
- 1 1/2 cups of dried split peas
- 3 carrots chopped
- 3 celery stalks chopped
- 2-3 cups vegetable stock
- 5 cups water
- 1 tbsp tamari or low sodium Soy Sauce
- Olive oil
- Salt & Pepper to taste
- 1 tsp thyme (fresh or dried)
- 3 tbsp chopped fresh parsley
Directions
- In a large pot sautée chopped onions, bay leaves, and garlic in some olive oil on medium heat until translucent (about 5-7 minutes).
- Add in the vegetable stock, water, thyme, parsley, and split peas, bring to a boil, then lower to a simmer for about an hour, stirring occasionally.
- Once the soup has thickened add in the carrots and celery and let simmer for another 15-20 minutes.
- Add in any water or stock if it begins to try out.
- Once the carrots are tender add in 1 tbsp Tamari and salt & pepper to taste.
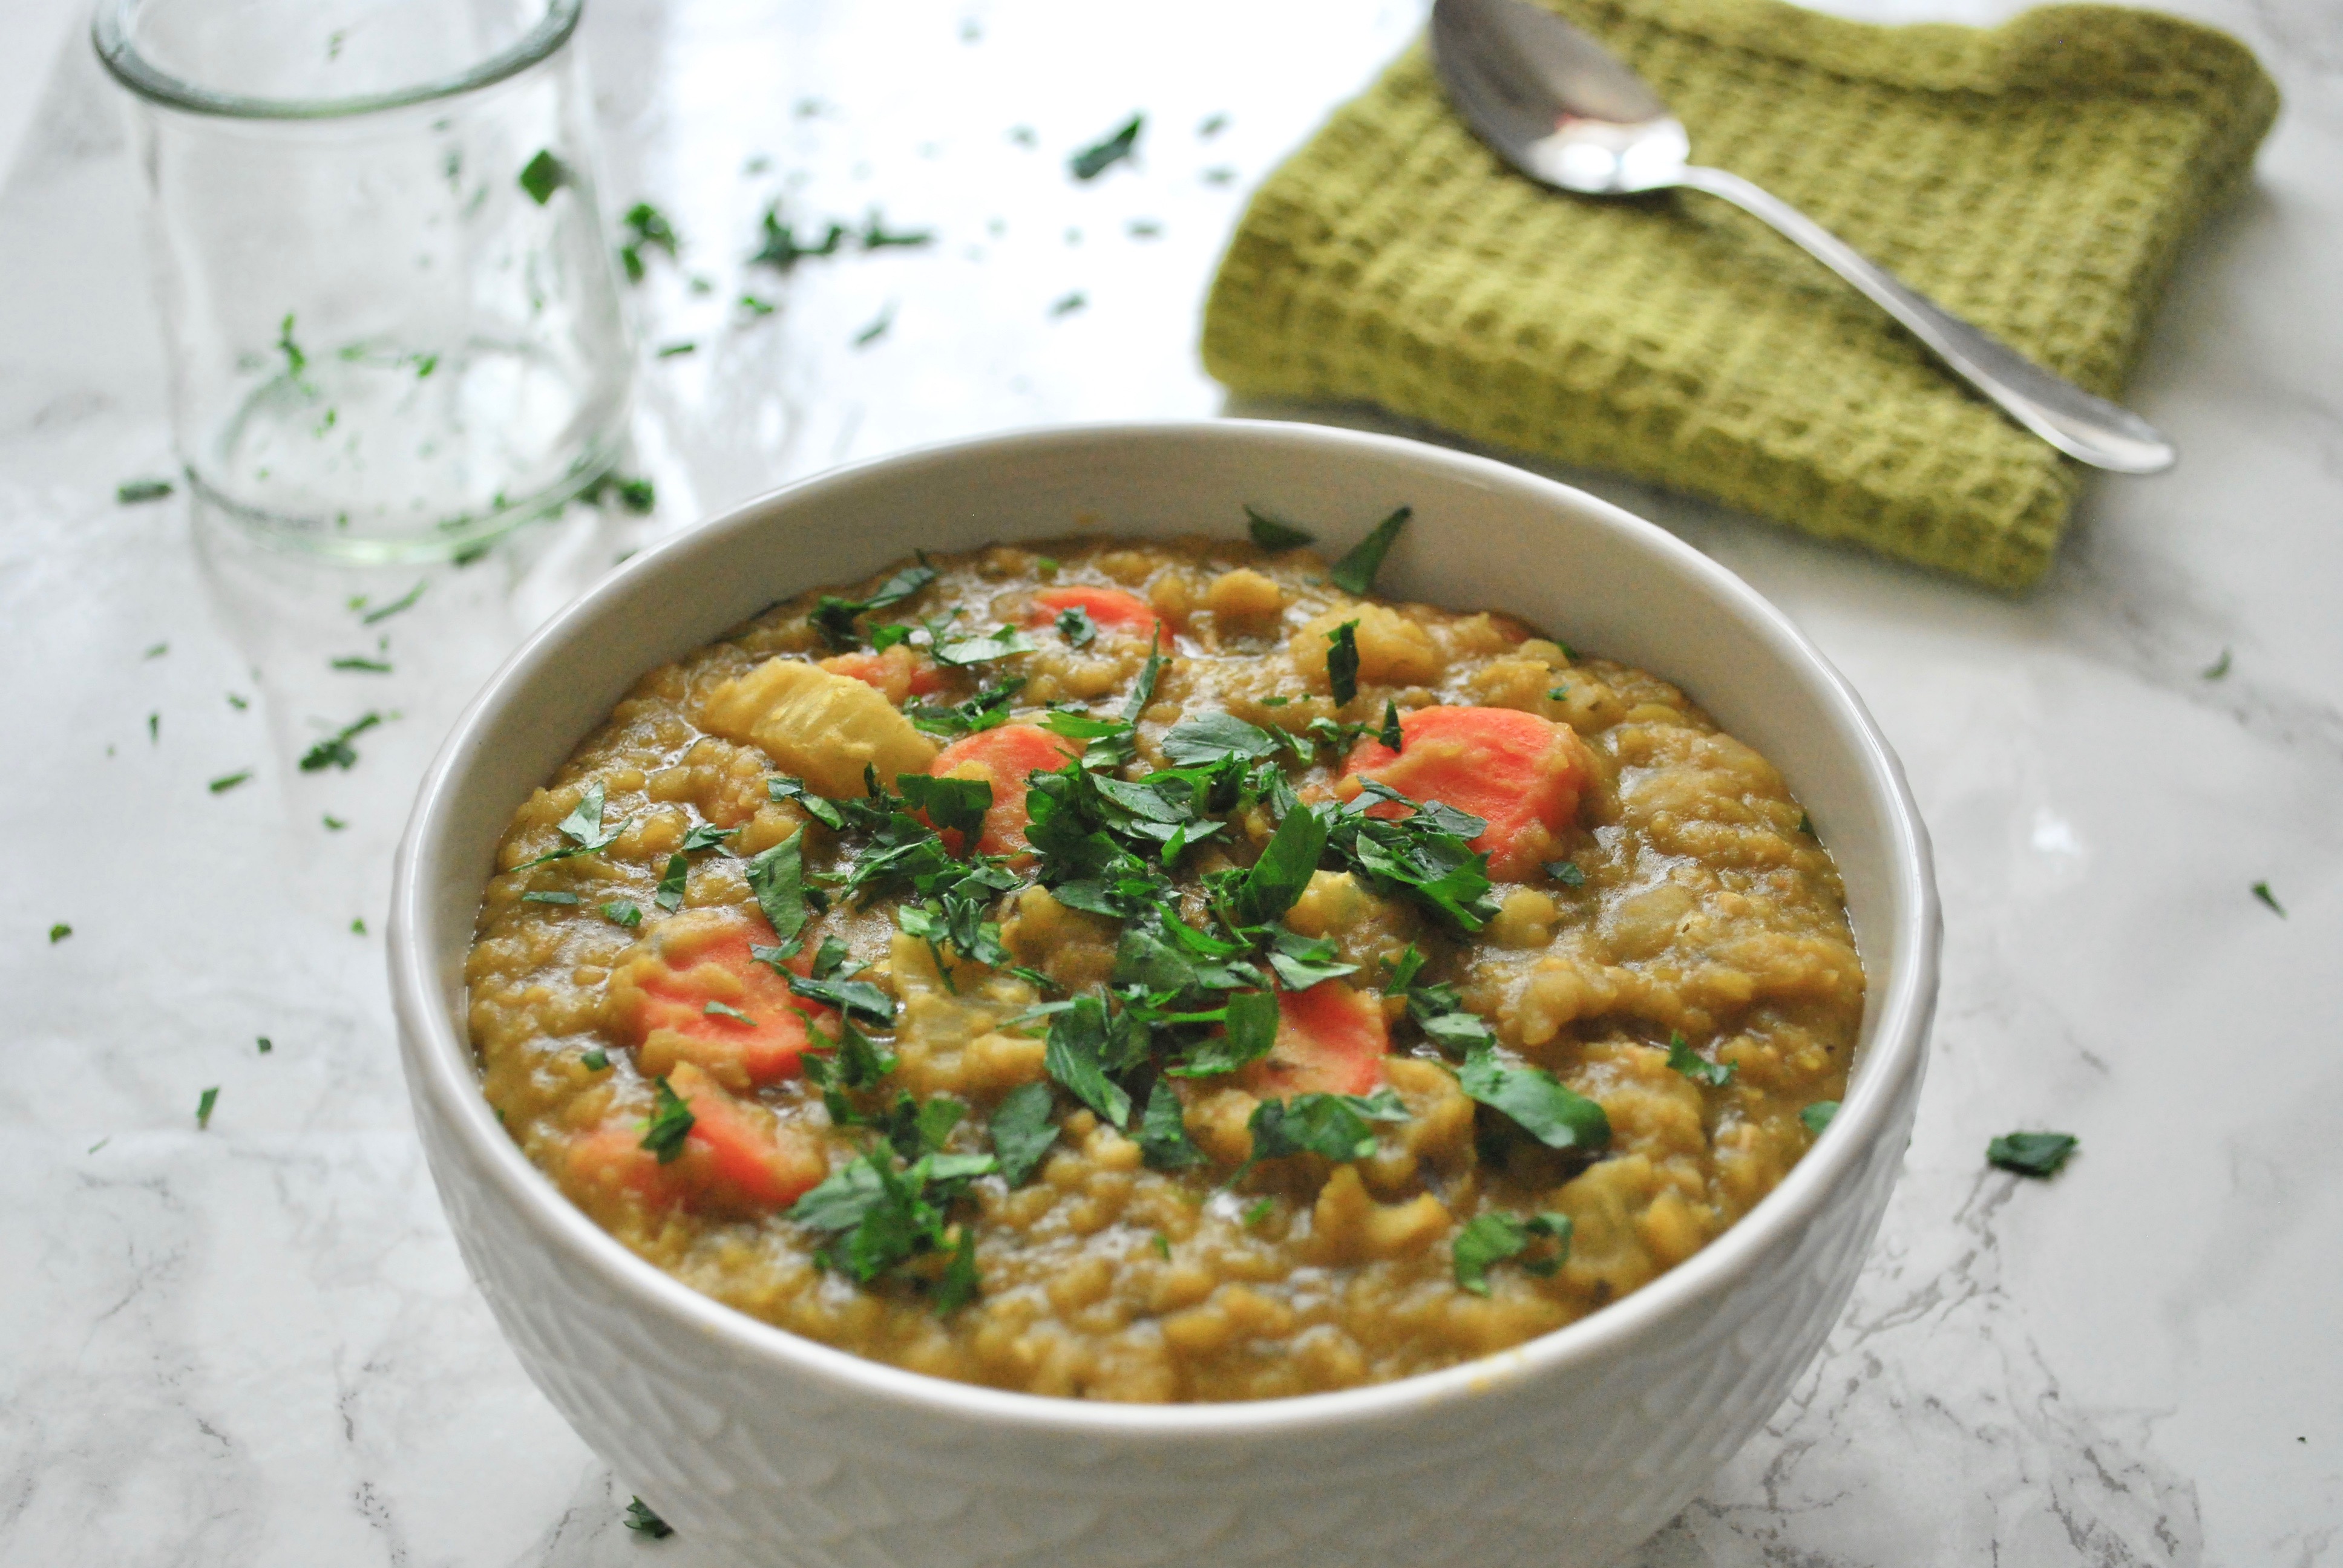
Enjoy!


by Caroline | Jan 29, 2017 | Recipes
The thing I love most about this turkey chili is how fast it is. I have to give credit to my boyfriend who created this turkey chili recipe. One night he said he was going to make a pot of turkey chili for dinner, and then like 20 minutes later it was ready. I couldn’t believe it. Normally chilis and stews take so long to prepare and then on top of that they take a lot of time to cook. Whatever he did, it was magical.
It seems innate that in the colder months we crave warmer foods…duh. But winter can be characterized as dry and windy, which may lead us to need more moist and grounding foods like heavy stews and roasted root vegetables. The food we eat this time of year can greatly enhance our ability to adapt to the harsher climate. Not to mention, strengthen our immune system to fight off whatever is going around- and there’s always something going around!
This turkey chili has since become a staple in our house during the winter months.

It’s a Sunday night type of dinner that’s quick enough to make on a weeknight.

Ingredients
- 1 lb turkey
- 1/2 onion chopped
- 2 cloves of garlic chopped
- 1 green bell pepper chopped
- 1 can of diced tomatoes
- 1 can of red kidney beans
- 1 tbsp apple cider vinegar
- 1 tbsp olive oil
- 1 tbsp balsamic vinegar
- 2 tsp chilli powder
- 1 tbsp oregano
- 1/2 tsp crushed red pepper flakes
- *Optional toppings* Sour cream and cheese
Directions
- Sauté 1 pound of ground turkey on medium-high heat until browned. Once browned drain any excess fluid.
- Then add the rest of the ingredients to the pan: 1/2 of a small onion chopped, 2 cloves of chopped garlic, 1 green bell pepper chopped, 1 can of diced tomatoes, 1 can of red kidney beans, 1 tbsp apple cider vinegar, 1 tbsp olive oil, 1 tbsp balsamic vinegar, 2 tsp chili powder, 1 tbsp oregano, 1/2 tsp crushed red pepper flakes.
- Stir until fully mixed and simmer for 15-20 until sauce thickens.
- Top with sour cream and cheese when ready to serve.
- Serves 4

Enjoy!

by Caroline | Jan 14, 2017 | Recipes
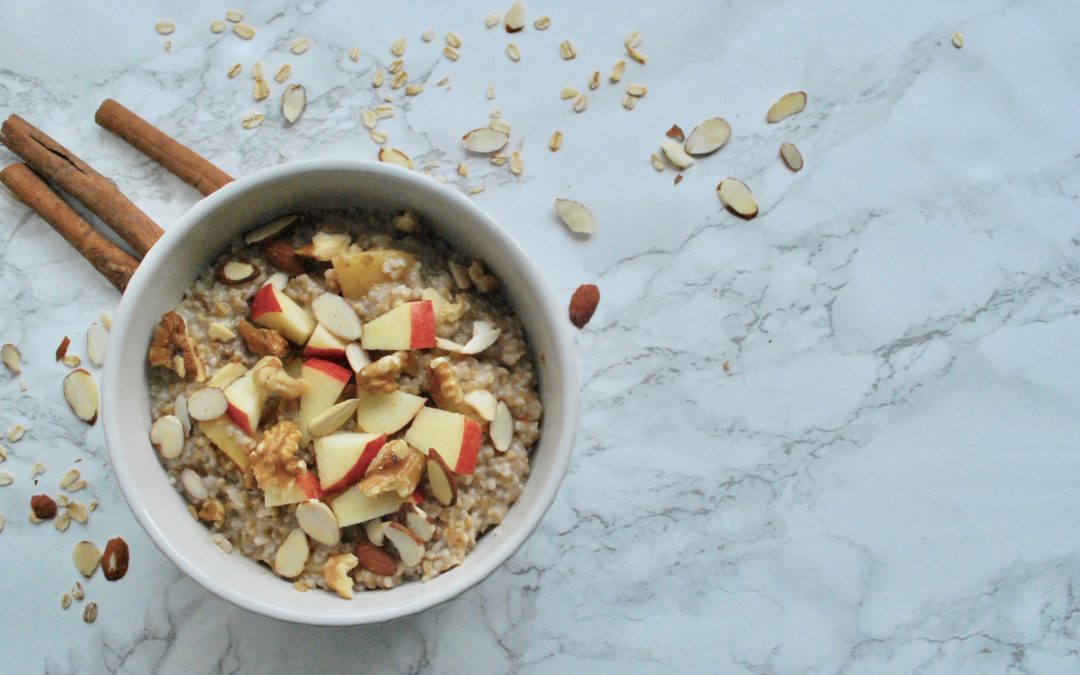
I don’t often make oatmeal for breakfast because I prefer a higher fat breakfast (eggs and avocado with some fermented veggies like kimchi are my go-to). I do like Irish steel cut oatmeal at times, especially in the winter, because it’s warming, filling, and oh so cozy. Well today was one of those cozy days where I just wanted a warm bowl of oatmeal. So I came up with this simple recipe for Irish steel cut oatmeal with apples. It’s not about reinventing the wheel, but I’m happy when I can make something that is healthy and simple. Recipes involving too many ingredients turn me off (at least when it comes to regular weekday meals).

There are so many different ways to dress up a plain bowl of oatmeal, sometimes I don’t know where to start. I decided to keep it really simple with this one. Basically, there’s only THREE main ingredients, and they’re generally things I keep on hand anyway.
Since Irish steel cut oats take a bit of time to cook, I want the rest of the process to be simple. No need for a major cooking project in the morning.
Ingredients
- 1 cup of Irish Steel Cut Oats
- 1-2 apple
- Cinnamon
- Slivered Almonds (optional)
- Walnuts (optional)
Directions:
- Bring 1 cup of Irish steel cut oats and 3 cups of water to a boil, then reduce to a simmer for about 20 minutes, stirring occasionally.
- Meanwhile, peel and slice 1 apple, chop into small cubes and sauté on medium heat with the lid on, stirring occasionally.
- Remove the apples from heat once they are soft and beginning to brown (about 7-10 minutes).
- Once the oats are done, remove from heat and add sautéed apples.
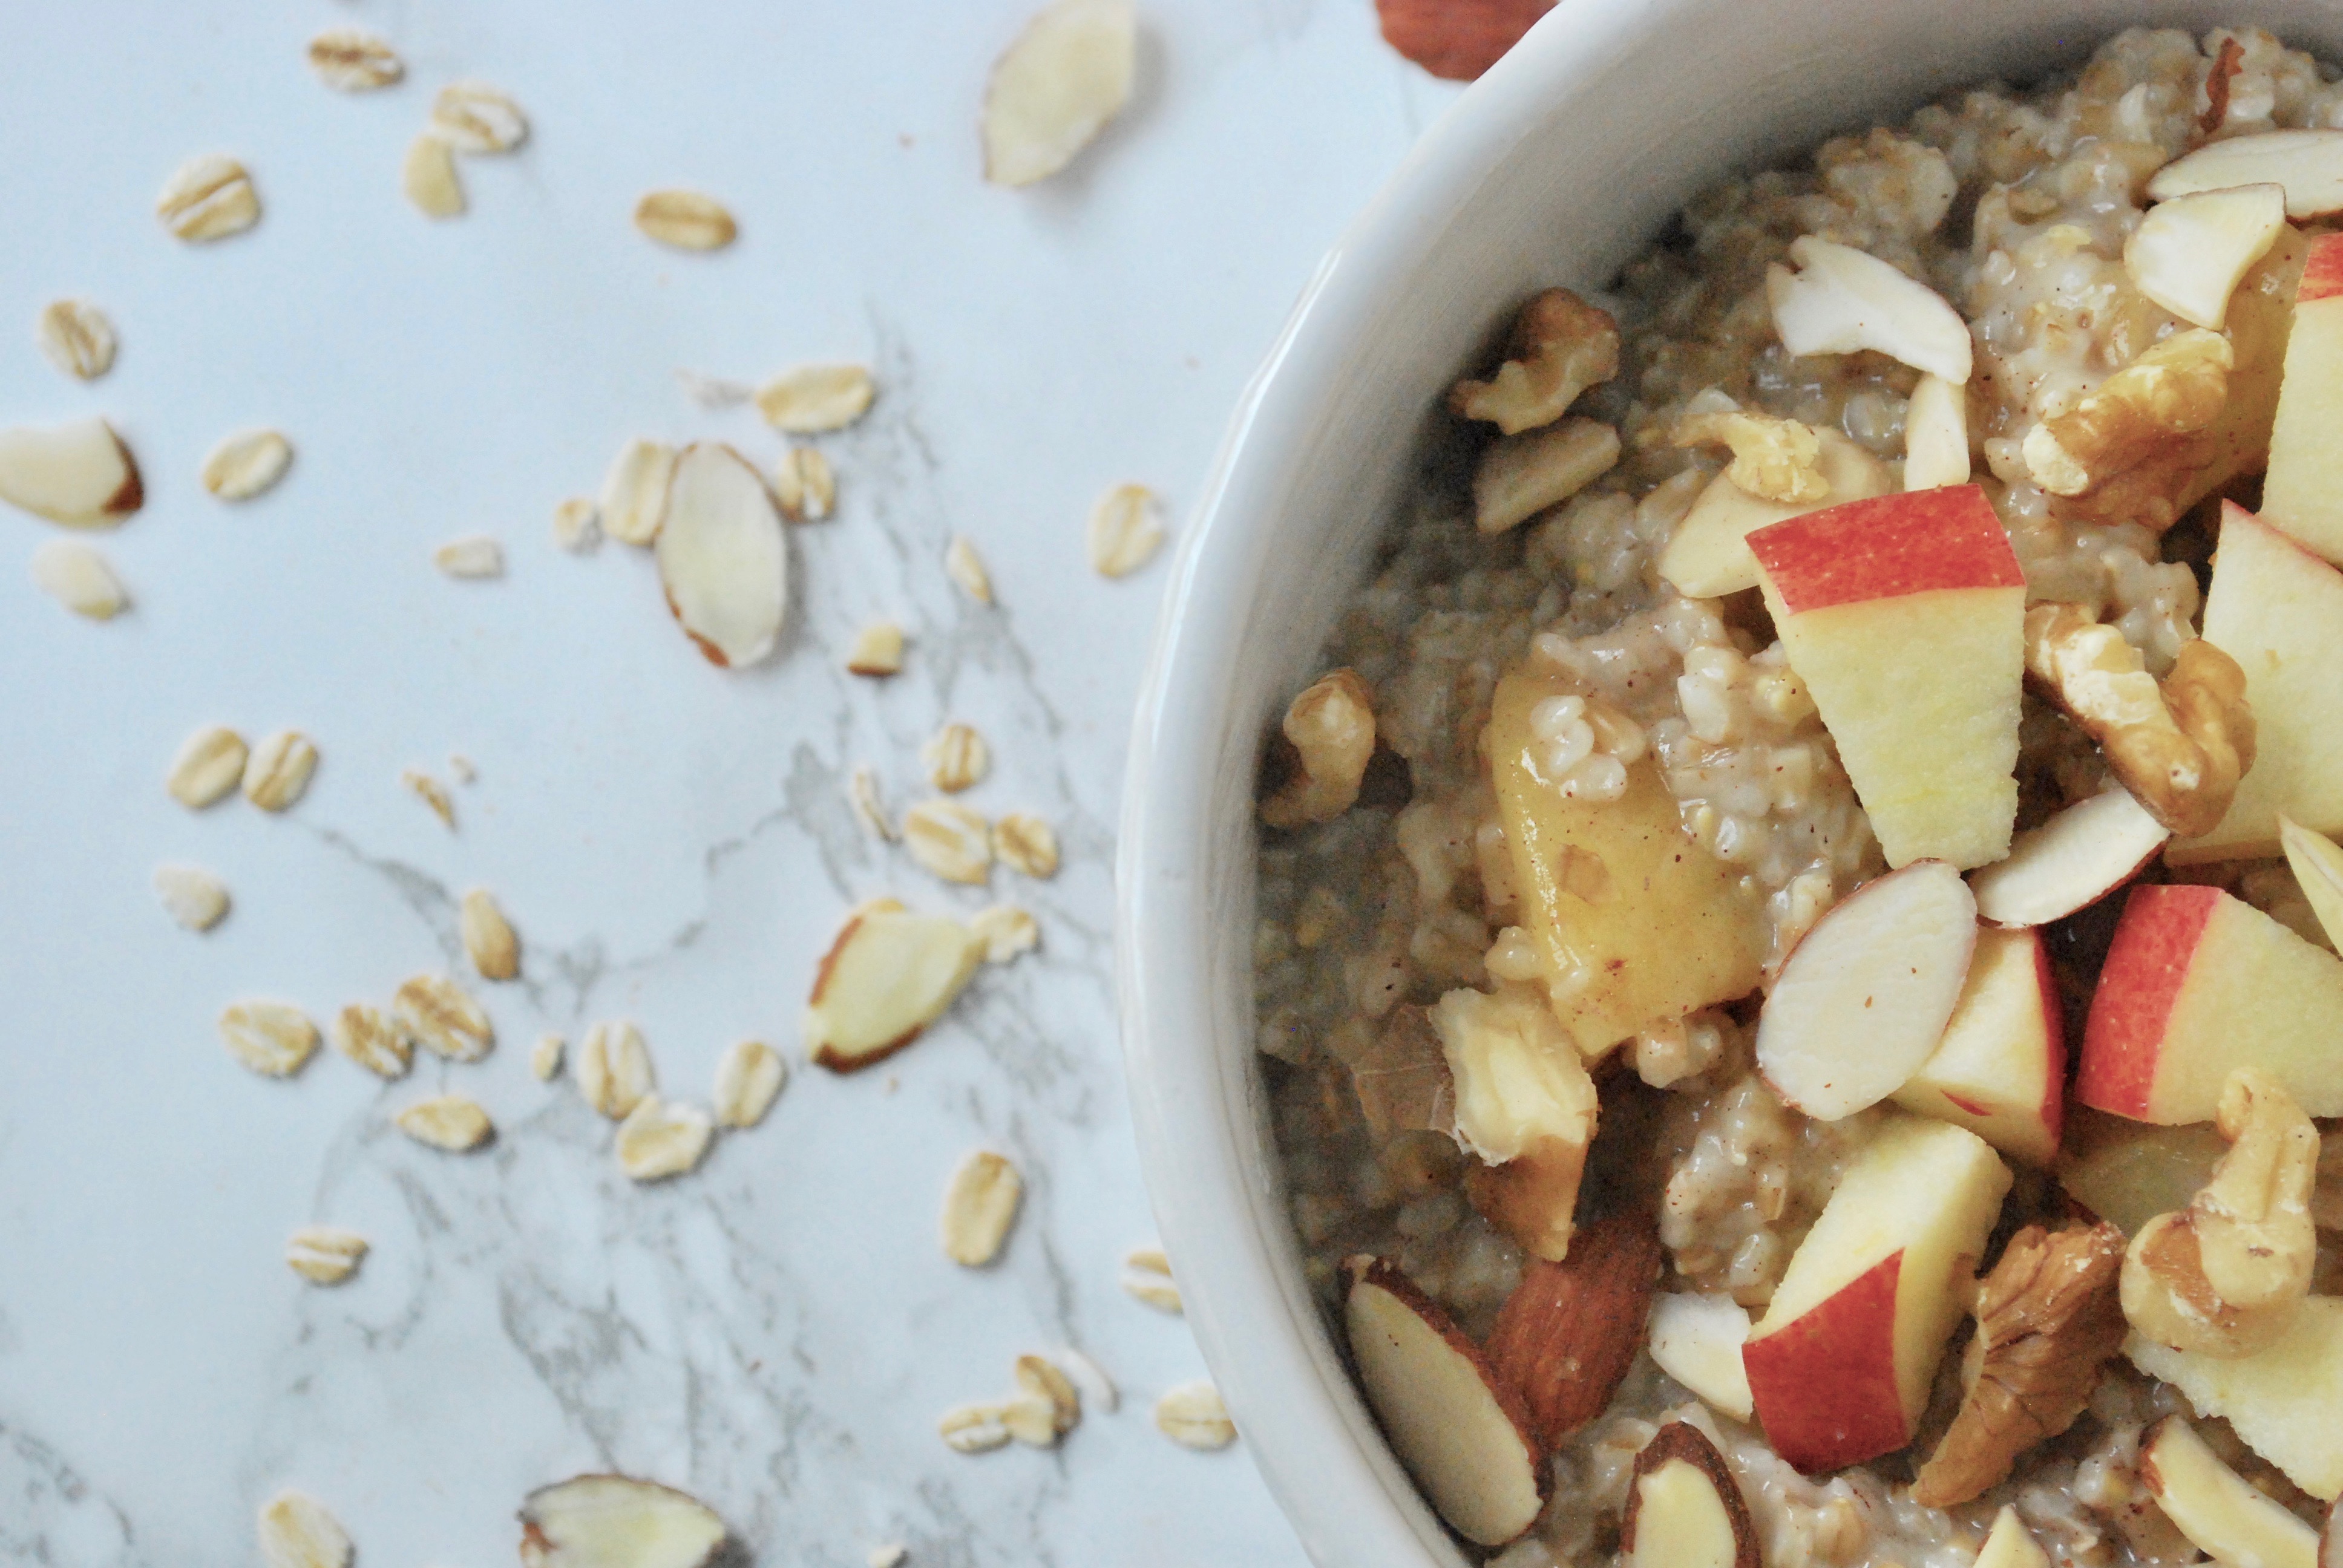
- Add cinnamon and any other toppings (I like some sliced apples, slivered almonds and walnuts, but the toppings are up to you).
Thats it!!!
I thought about adding some maple syrup but the sautéed apples really bring enough sweetness to the dish, and I don’t like my breakfasts to be too sweet anyway. I find that this is the perfect amount of sweetness without needing and added sweetener.
This recipe makes about 2-3 servings (or 1 if you’re really hungry).

May your morning be warm and cozy,

by Caroline | Dec 20, 2016 | Recipes
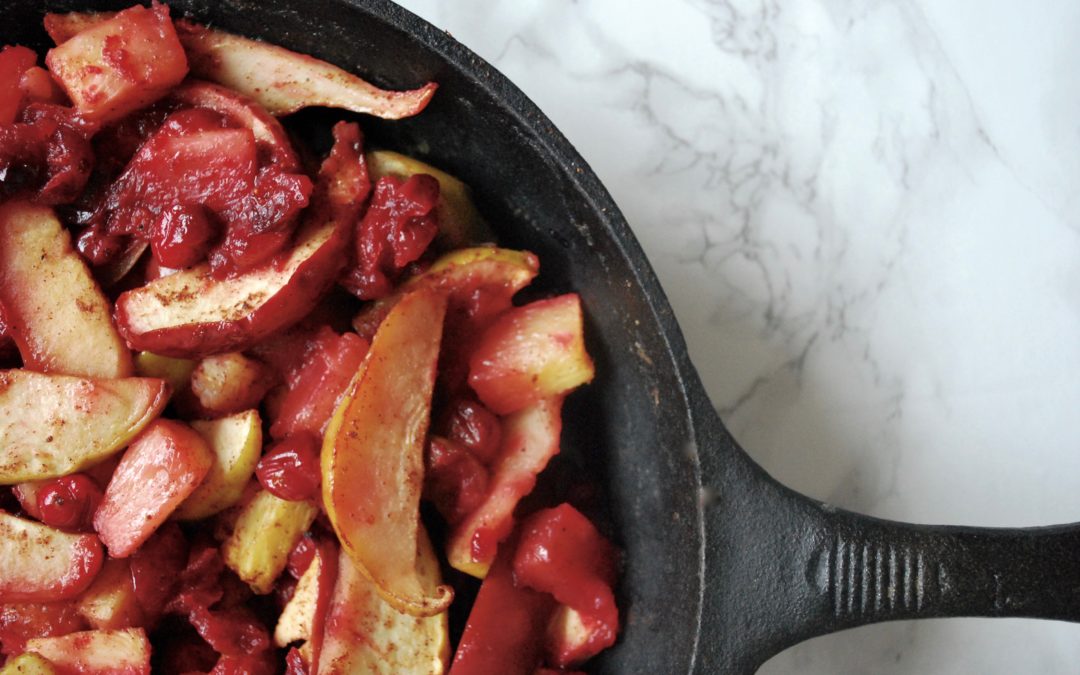
This Christmas Fruit Bake is a really quick and simple, yet healthy and delicious, because… have we met? It’s sort of my thing at this point that I like to take delicious recipes I see around the internet and simplify them. I’ve seen so many baked fruit recipes that call for amounts of sugar and butter that would make Paula Dean blush.
Fruit bakes are inherently sweet and savory because of the juices from the fruits. You don’t have to do a lot to make it delicious. So this version is very simple, focusing on the fruit and spices, with only a little bit of butter and honey to help incorporate the spices on the fruit.
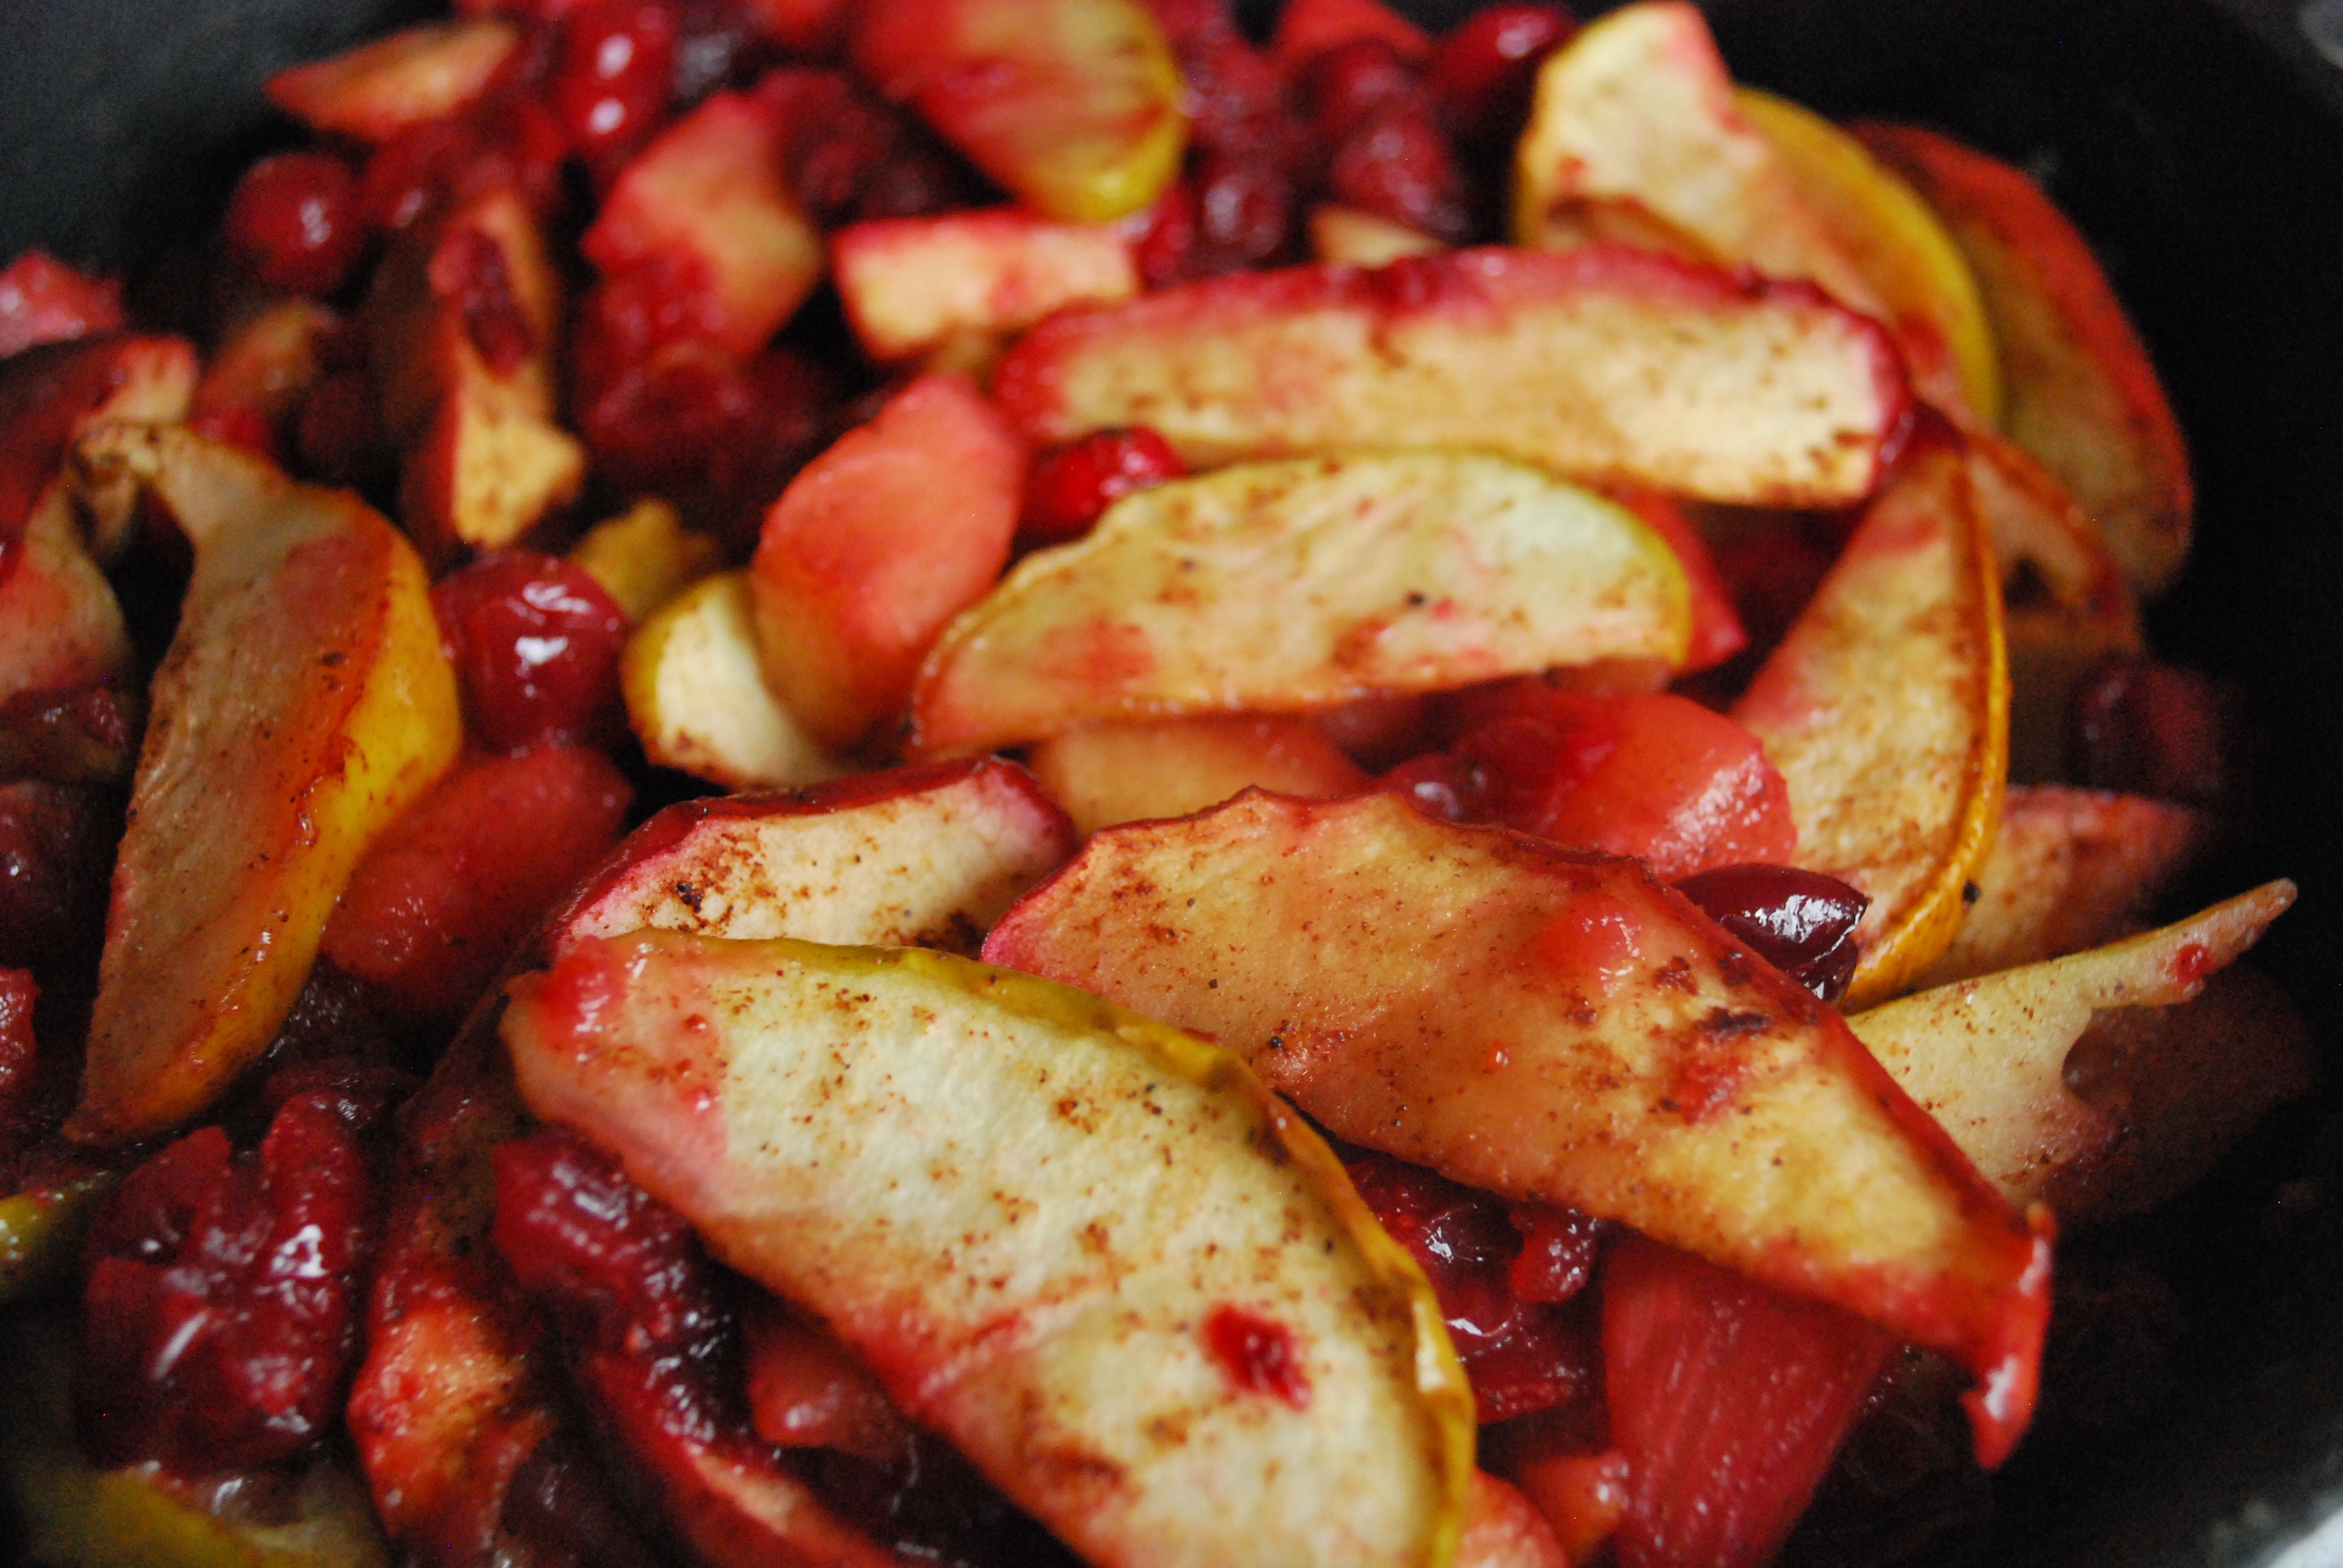
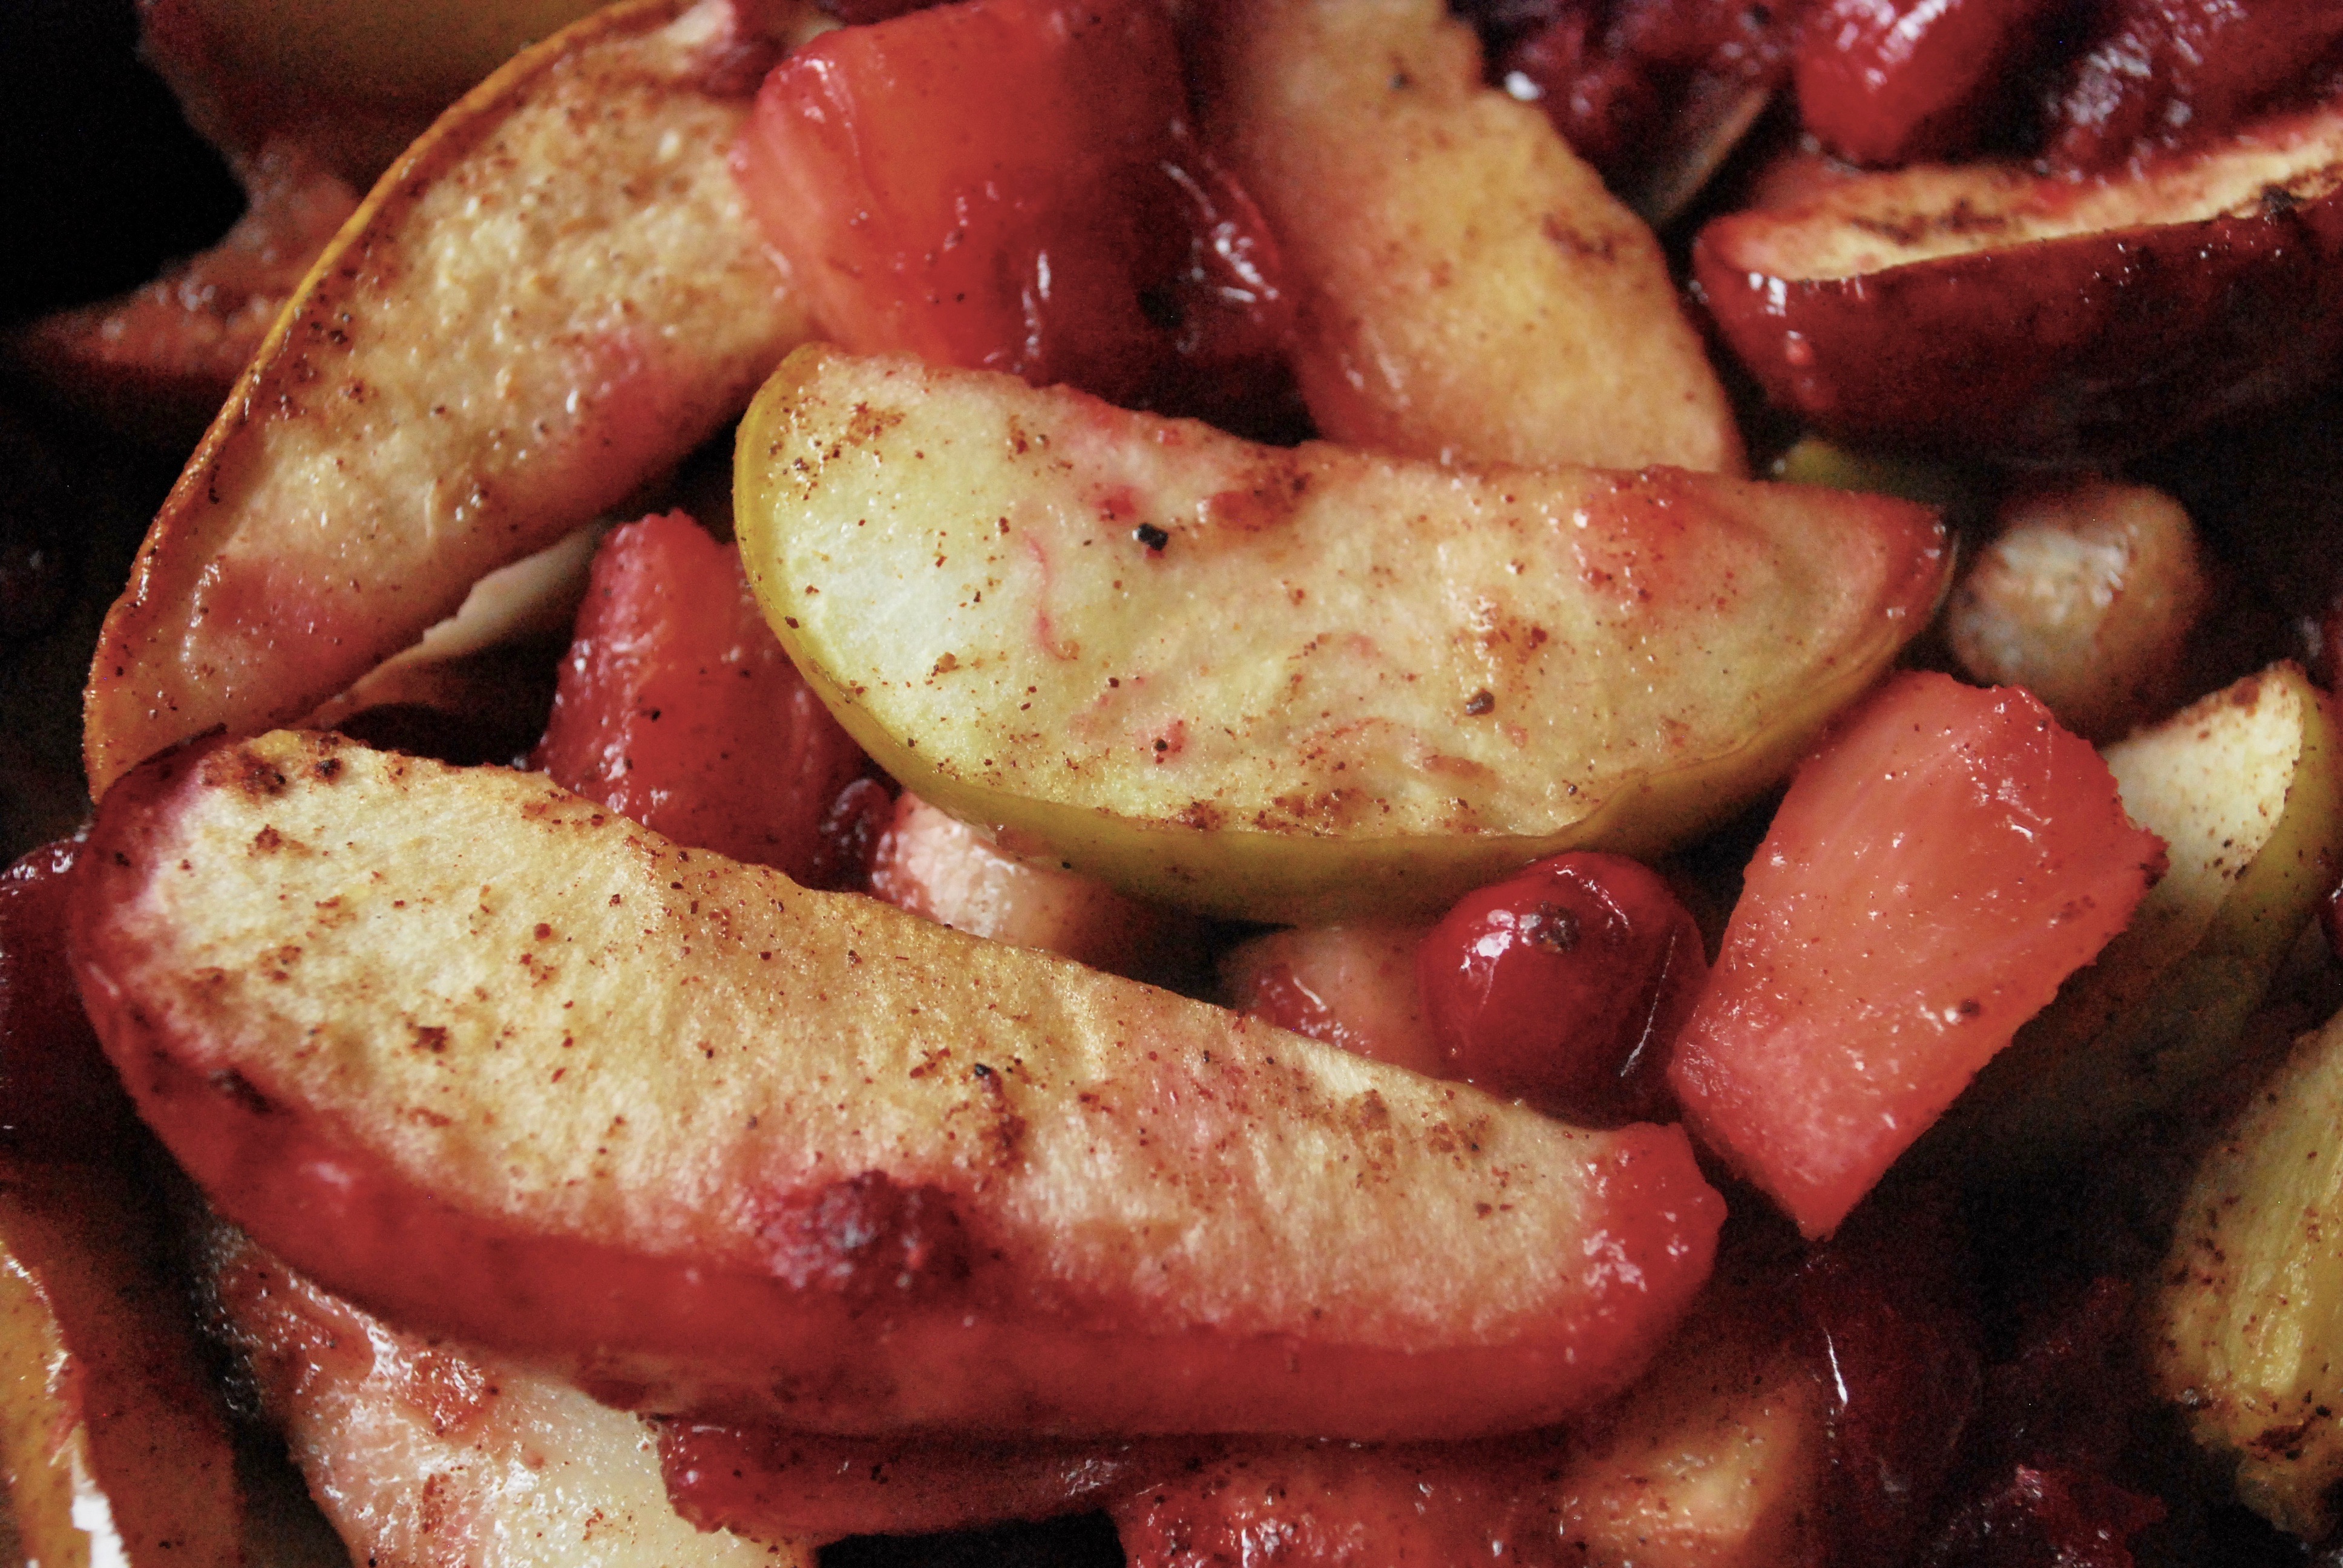
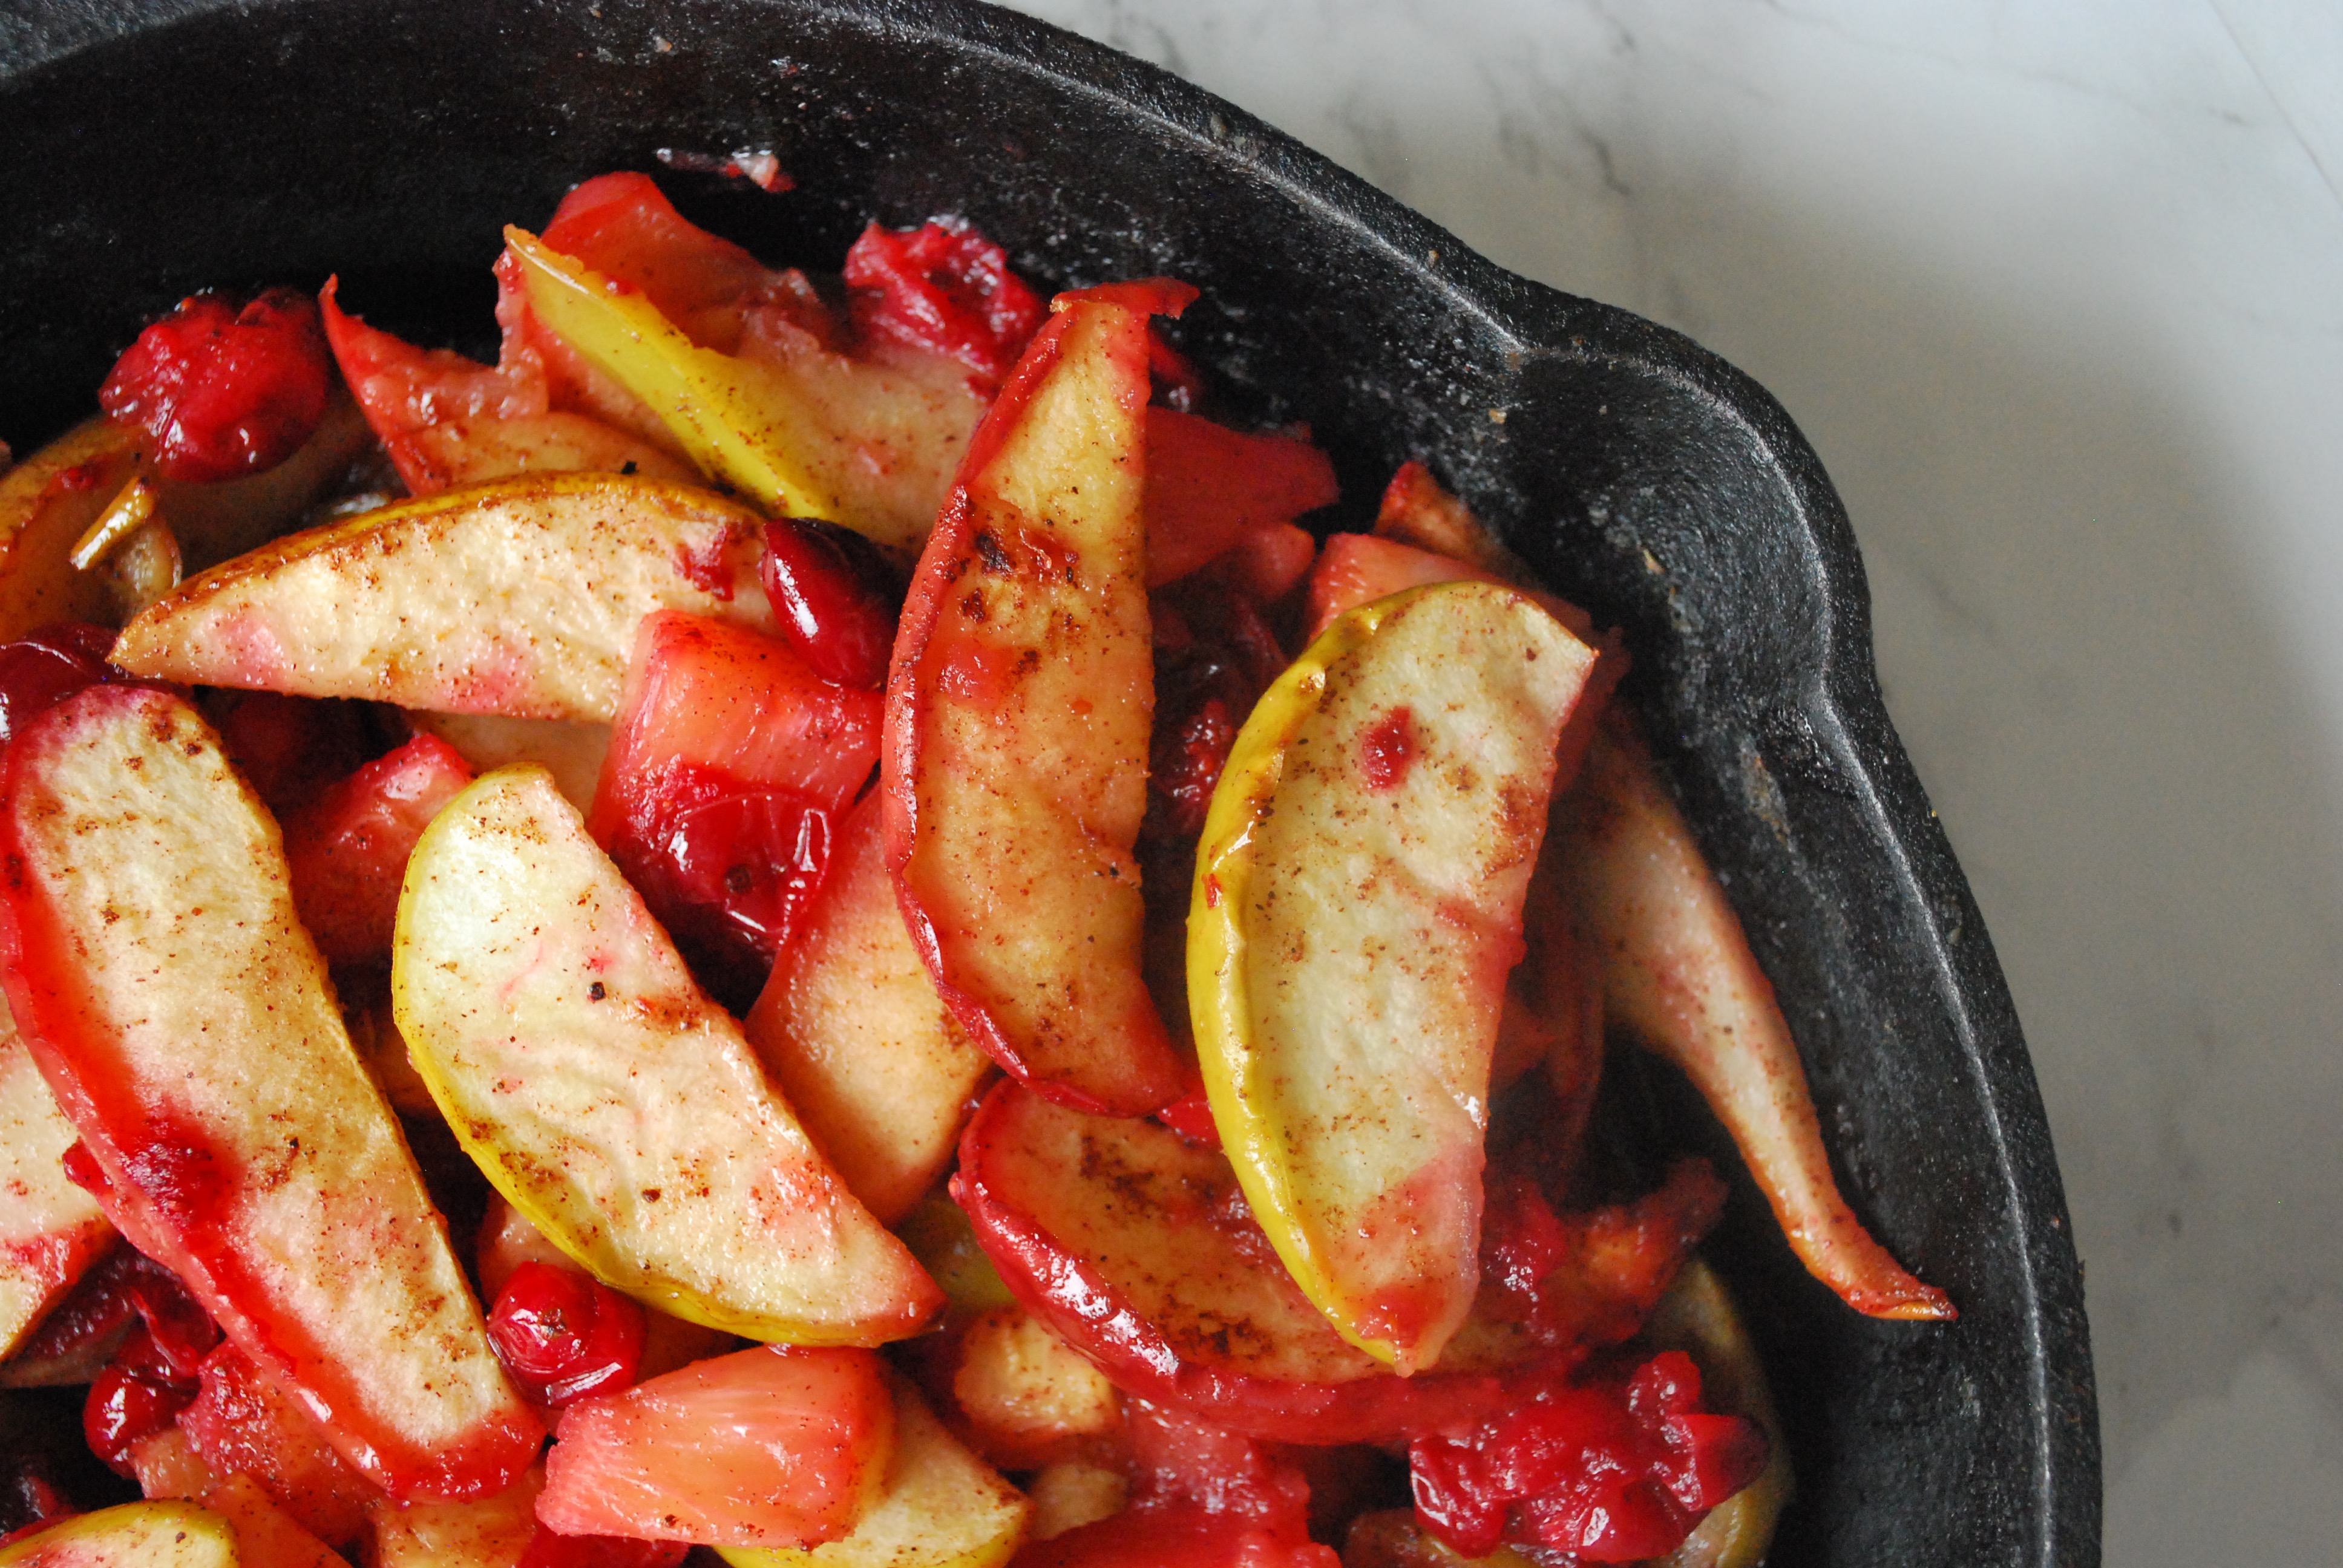
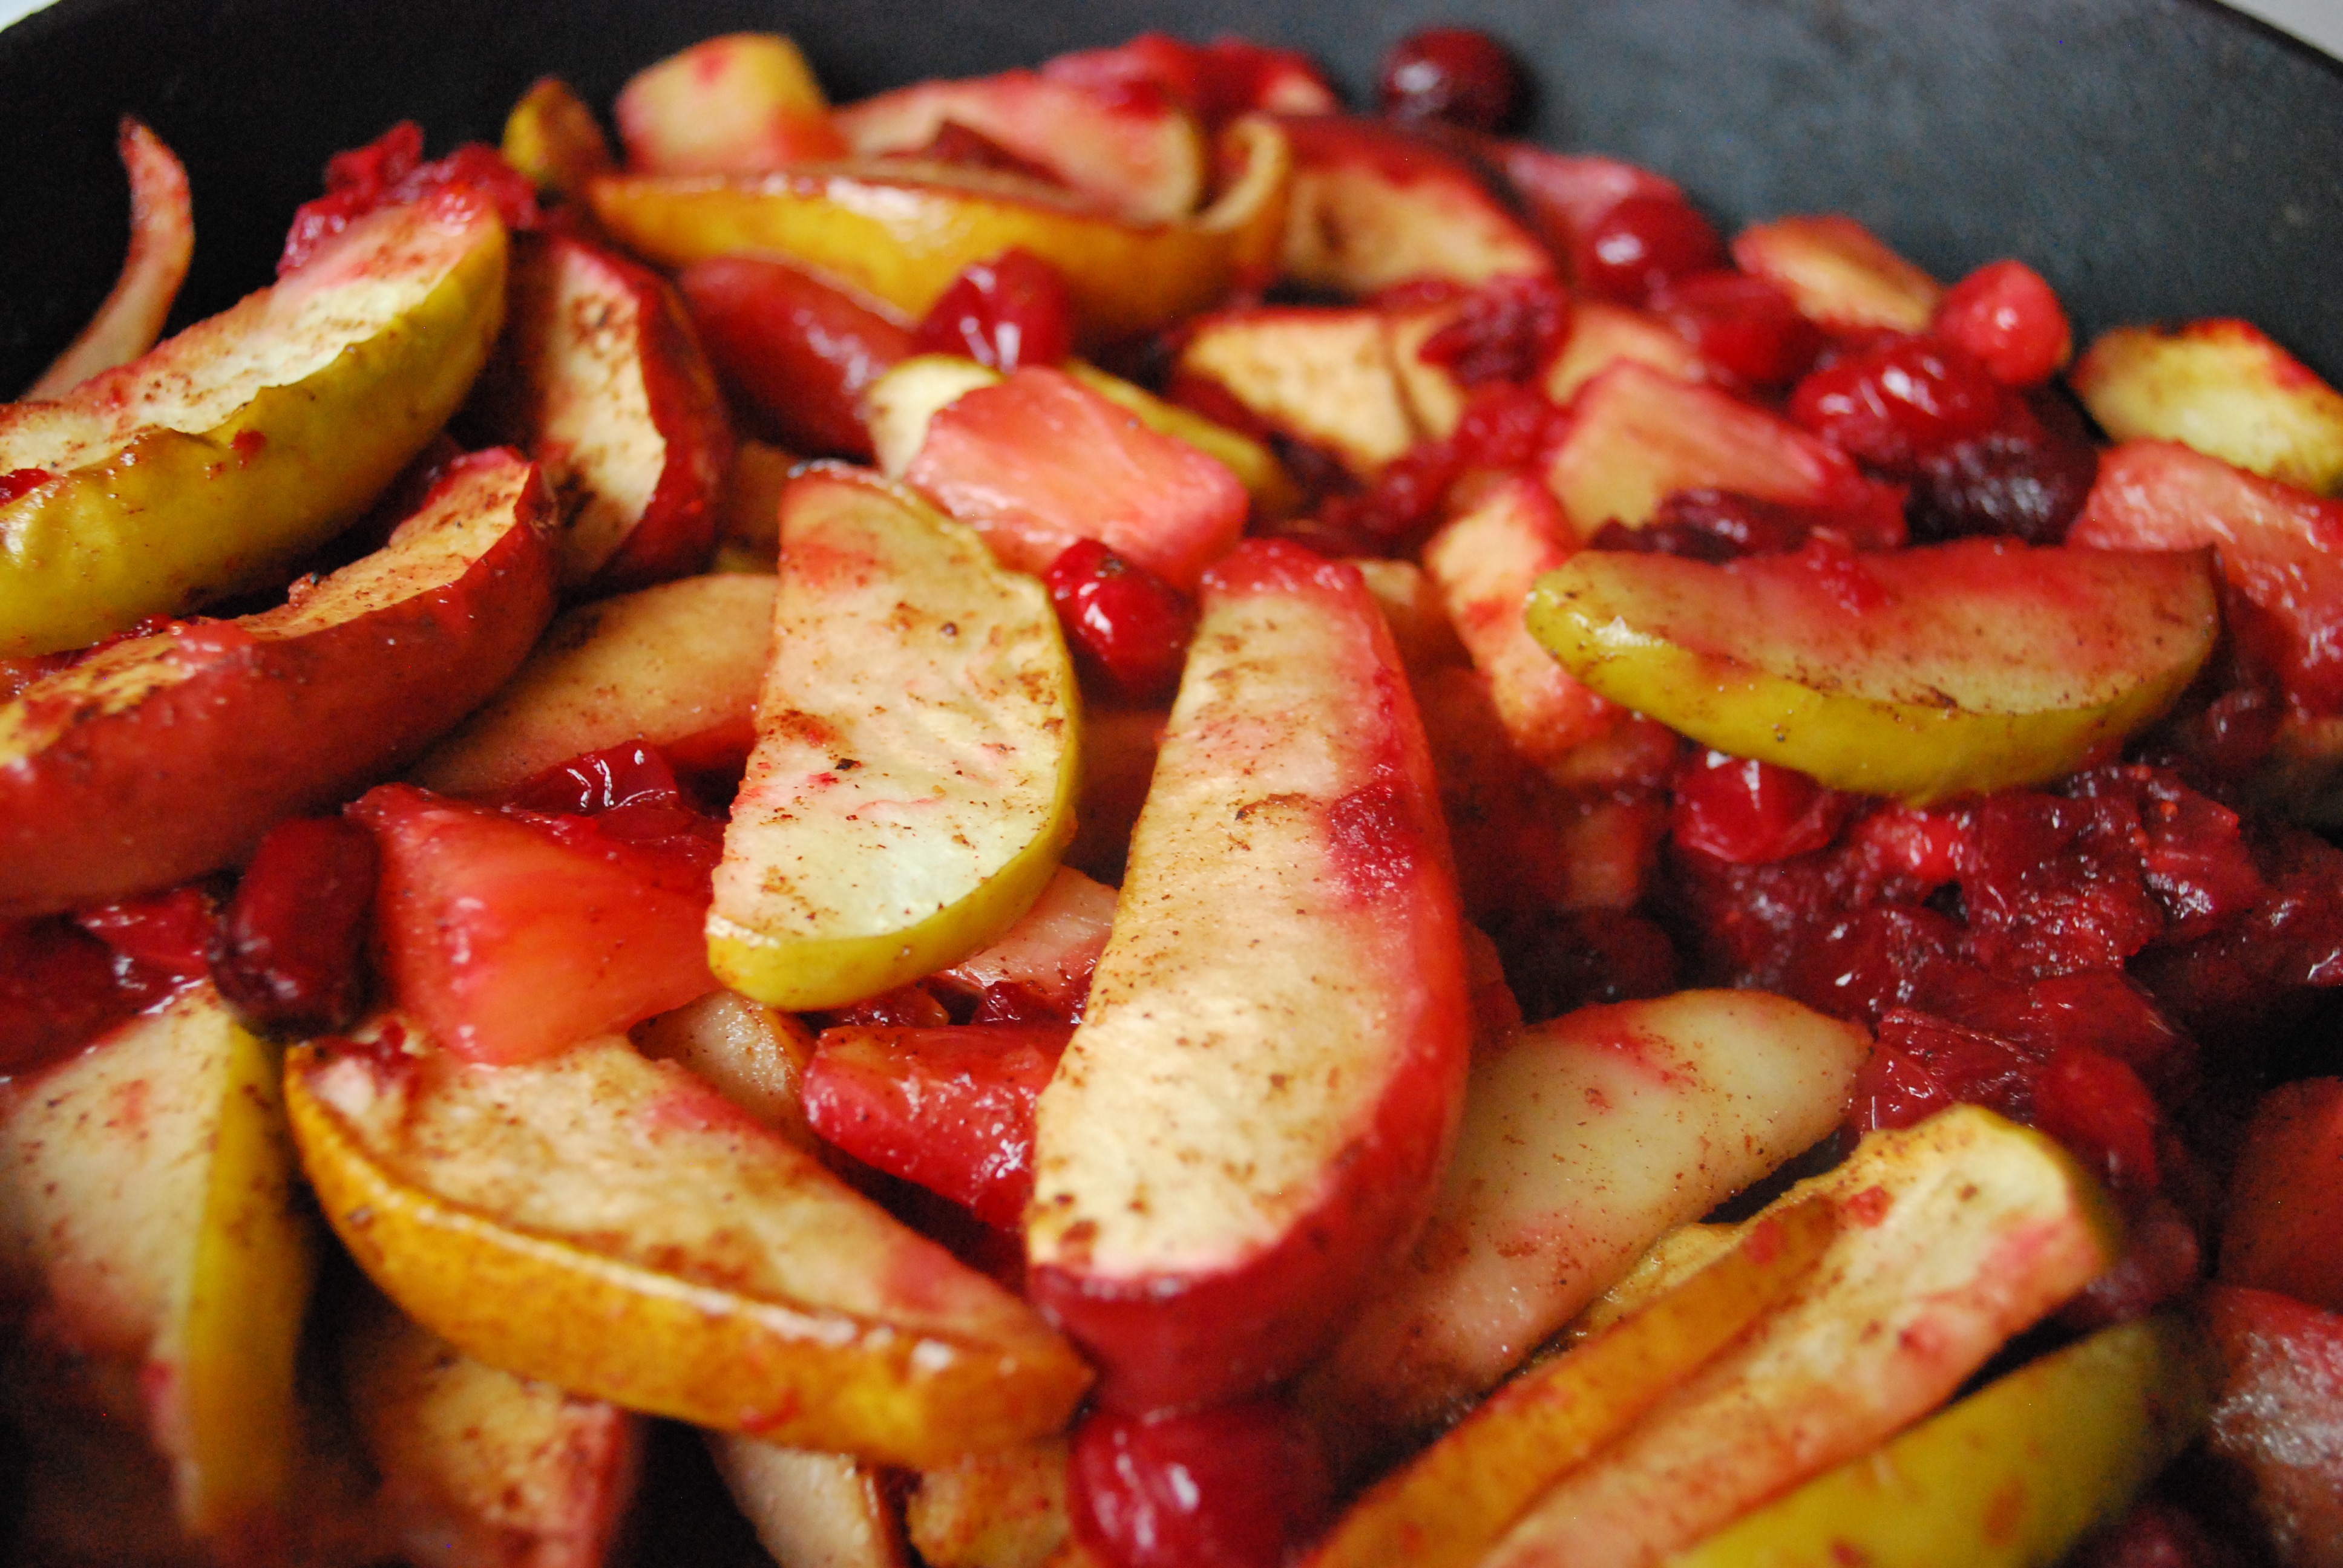
I decided to make this Christmas fruit bake because I love the tastes and smells of christmas time, and I thought that the combination of the spices cinnamon, nutmeg, and clove would play really well with the sweet apples and tart cranberries. *spoiler alert, it did!*
Ingredients
- 2 apples
- 1 pear
- 1 c pineapple chunks (I just got a container of precut pineapple, definitely save the juice from the container)
- 1 container of cranberries (I say one “container” because it’s silly to have leftover cranberries when you have to buy the whole thing, but really you can use as much or as little as you want)
- 3 tbsp melted butter (preferably grass fed)
- 2 tbsp honey
- leftover pineapple juice (approx 2-4 tbsp, but whatever you have is fine)
- 1 tsp cinnamon
- 1/2 tsp nutmeg
- 1/4 tsp ground clove
Directions:
- Cut up the apples, pear and pineapple, and toss in a bowl with the cranberries.
- In a separate bowl mix the melted butter, honey, leftover pineapple juice, cinnamon, nutmeg, and clove.
- Slowly pour mixture over the fruit and toss until it’s evenly coated.
- Place the fruit in a baking dish and bake at 300 degrees for about 45 minutes. Feel free to adjust the time by a few minutes if you prefer the fruit to be on the harder or mushier side.
You can alter this in any way you want. You can add more pears, less apples, less cranberries, more butter, whatever! It’s the basic formula that matters; fruit, and the liquid/spice mixture. If you absolutely hate cranberries take them out and try raspberries. It’s fun to get creative and I will not be offended if you change it up. In fact I encourage it. Being creative in the kitchen allows you to play with your intuition and creative side that often gets stifled in our rigid daily lives.
Now, go ahead and make a mess, but be sure to have fun!
Have a happy and healthy holiday,


by Caroline | Dec 18, 2016 | Recipes
This weekend I decided to make by first gingerbread! All I have been wanting to do lately is eat food that tastes like Christmas. Spices like cinnamon, clove, ginger, and foods like citrus fruits, pomegranates, and cranberries. Gingerbread, however is brand new to me from a baking standpoint because I never actually made gingerbread or gingerbread cookies before. As a kid my traditional Christmas cookie of choice was Tollhouse slice and bake, awww yeah! We always had a gingerbread house but I’m pretty sure it was made out of graham crackers. So clearly it was time to add some gingerbread into my life! I think this recipe has become a new tradition for me, btw. I love it THAT much!
As always I knew that whatever I made would have to be a healthier version of a classic, so this was the perfect opportunity to create a healthy gingerbread recipe. I looked at several different gingerbread recipes online and came up with my own version, which basically means I added more spices and use less of whatever sweetener a recipe calls for. I find that most recipes out there over do it on the sweeteners, when they still taste good with a little less. This recipe contains no sugar, rather it’s sweetened with honey, maple syrup, and molasses. To be honest, I don’t even think I own sugar. There’s just no need for it when there are more natural substitutions out there.
I know this recipe will be a crowd pleaser at any holiday event you have this year.
Let’s get started!
Dry Ingredients
- 2 1/2 cups flour of your choice (I used spelt but you can use whole wheat or white. I haven’t tried almond or coconut flour yet, but It’s worth a try! Someone do that and get back to me.)
- 2 tbsp cinnamon (I like a lot of cinnamon)
- 1 tsp ground cloves (If you like cloves like me then feel free to add some more, it can be a bit strong for some people though)
- 2 tsp baking powder
- 1 tsp baking soda
- pinch of salt
Wet Ingredients
- 1/4 cup molasses
- 1/4 cup maple syrup
- 1 cup unsweetened apple sauce
- 2 eggs
- 1 tsp vanilla extract
- 1-2 tbsp grated fresh ginger
Toppings
- Pomegranate seeds
- canned full fat coconut milk
- 2 tbsp honey
- 1 tsp vanilla extract
Directions
- Preheat Oven to 350 degrees.
- Mix dry ingredients, mix wet ingredients, then mix together. You don’t need a fancy mixer, a regular old fork will do. Simple!!
- Use cooking spray on a bread loaf pan, fill the pan leaving a few inches at the top (this stuff rises!) and bake for 45-50 min.
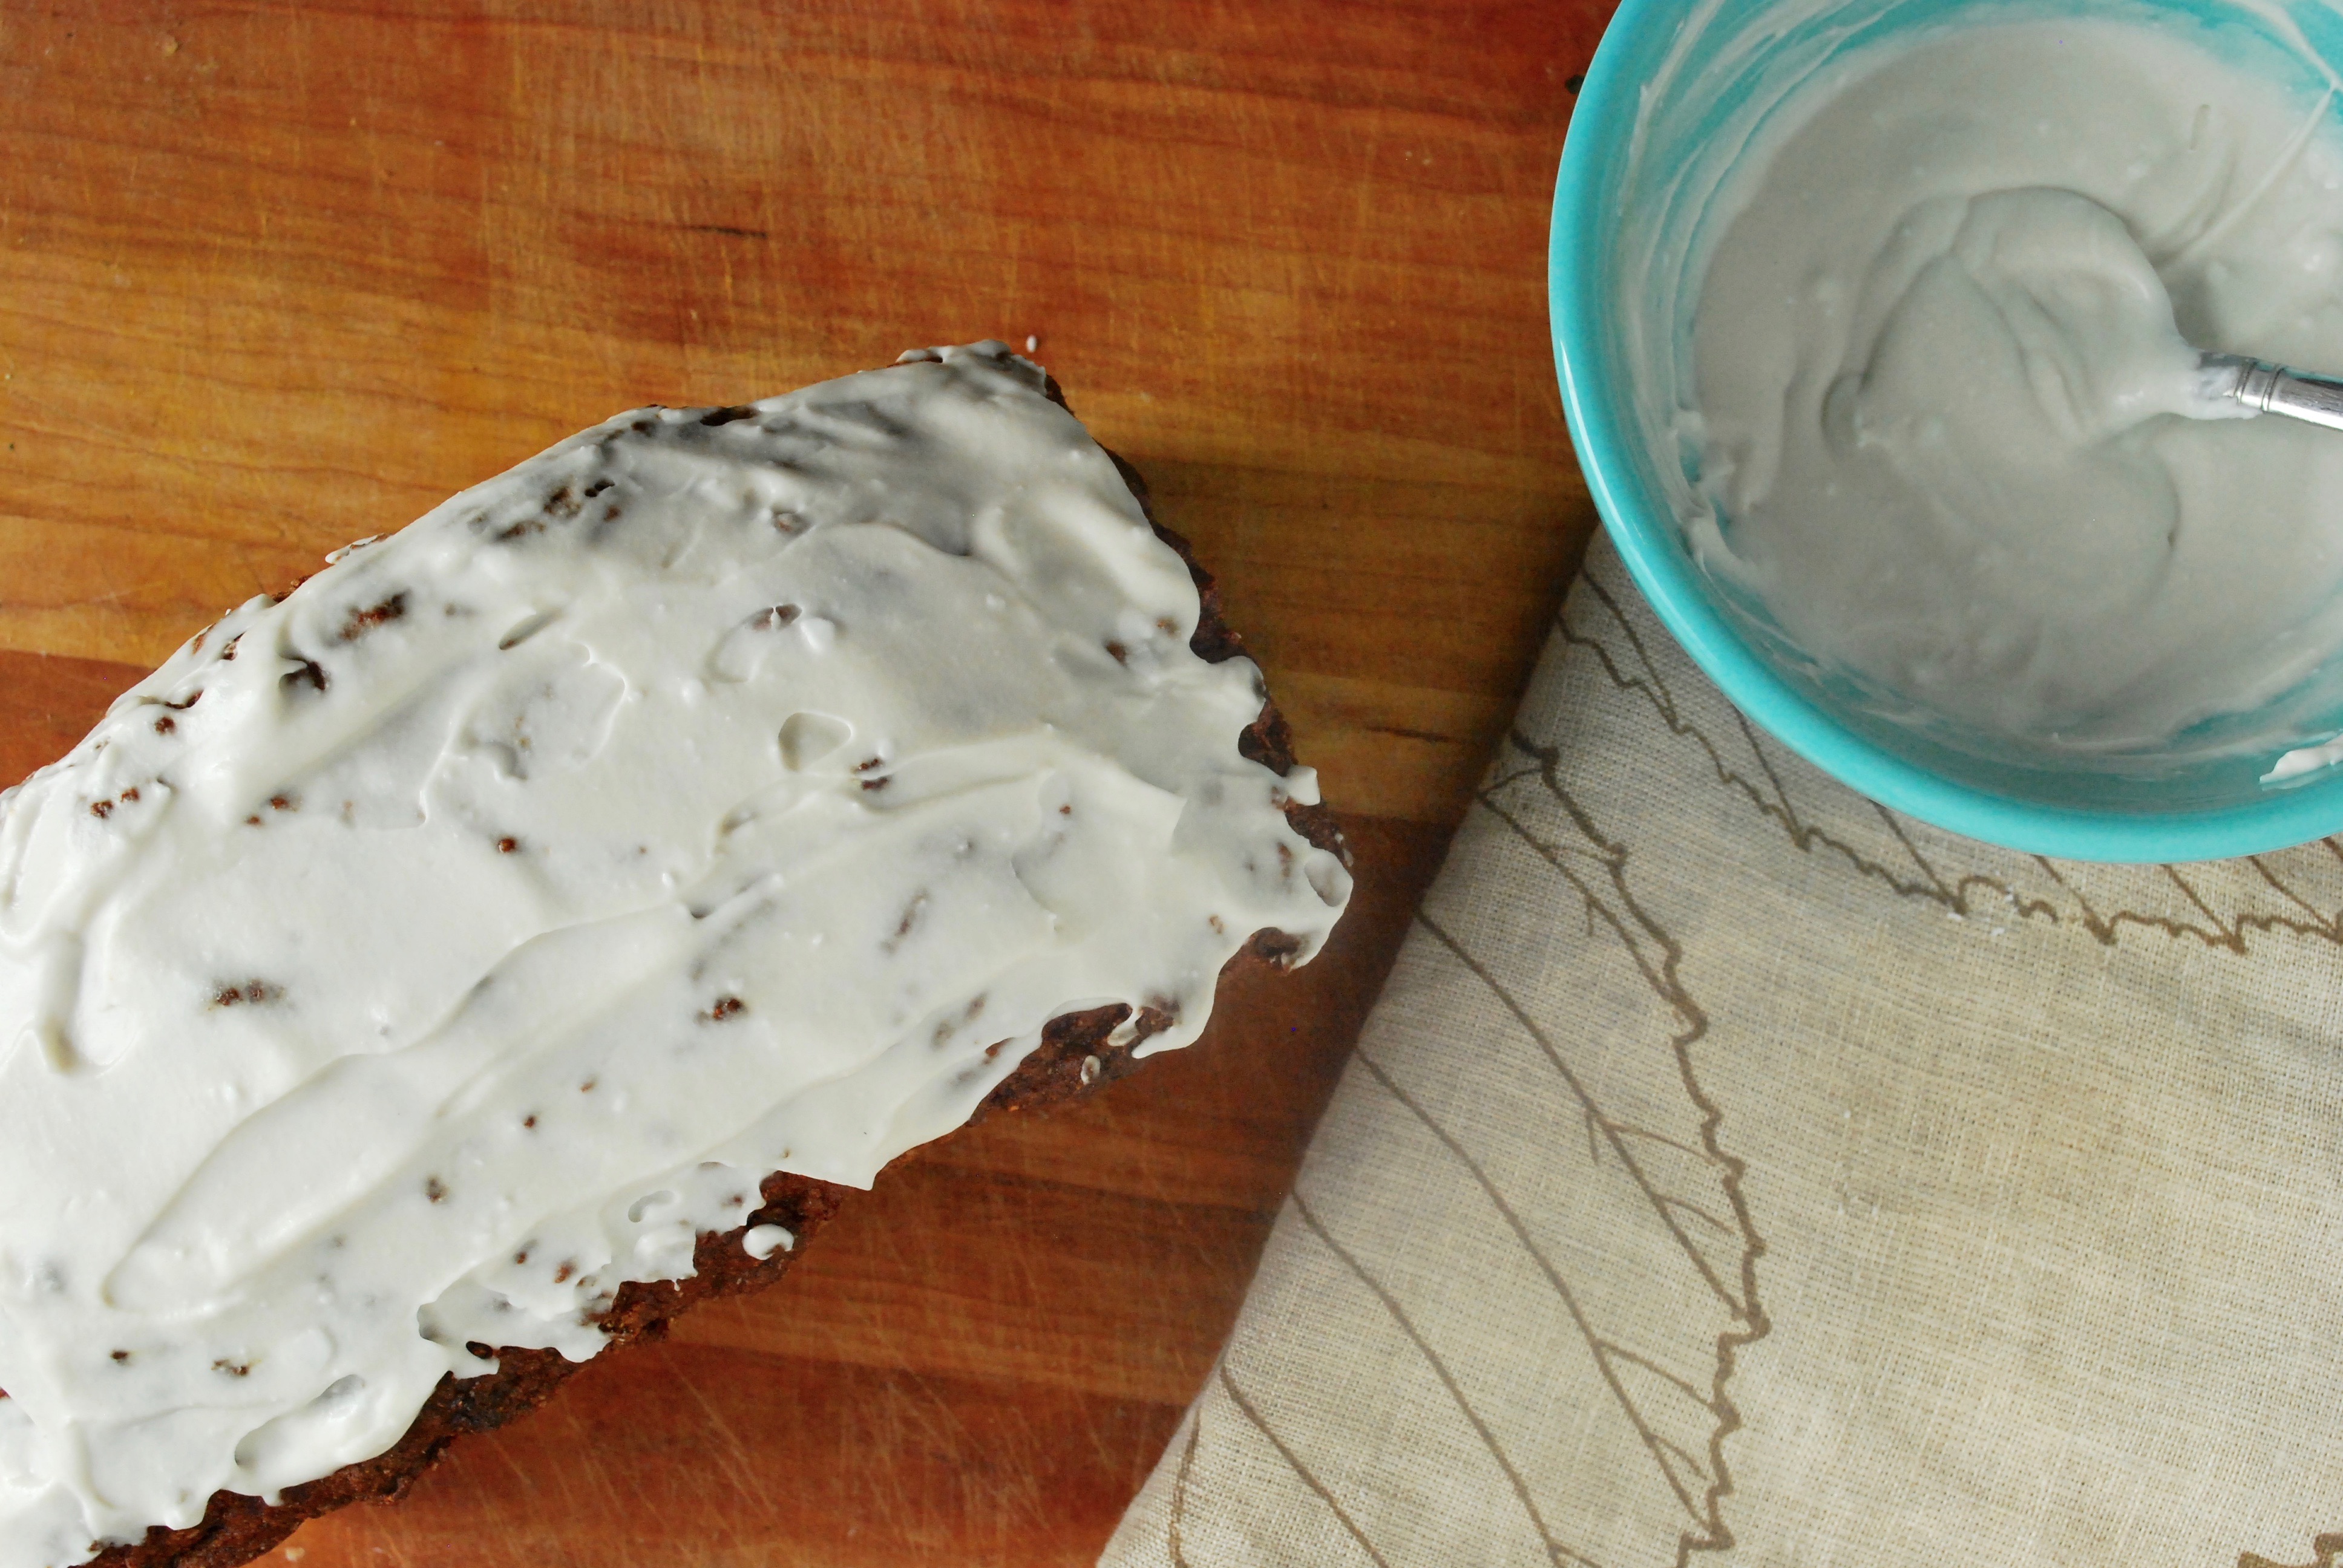
- To make the frosting skim the top half of the coconut milk from the can (be sure not to shake it). This will be a very think paste. Add in honey (or maple syrup if you prefer) and the vanilla extract and whip it together. It you want a thicker frosting like on a cake this is all you have to do. If it’s too thick and you want to be able to drizzle it on the bread you can water it down with the thinner coconut milk from the can (or any other milk or water) only 1-2 tablespoons at a time so you can get the right consistency.
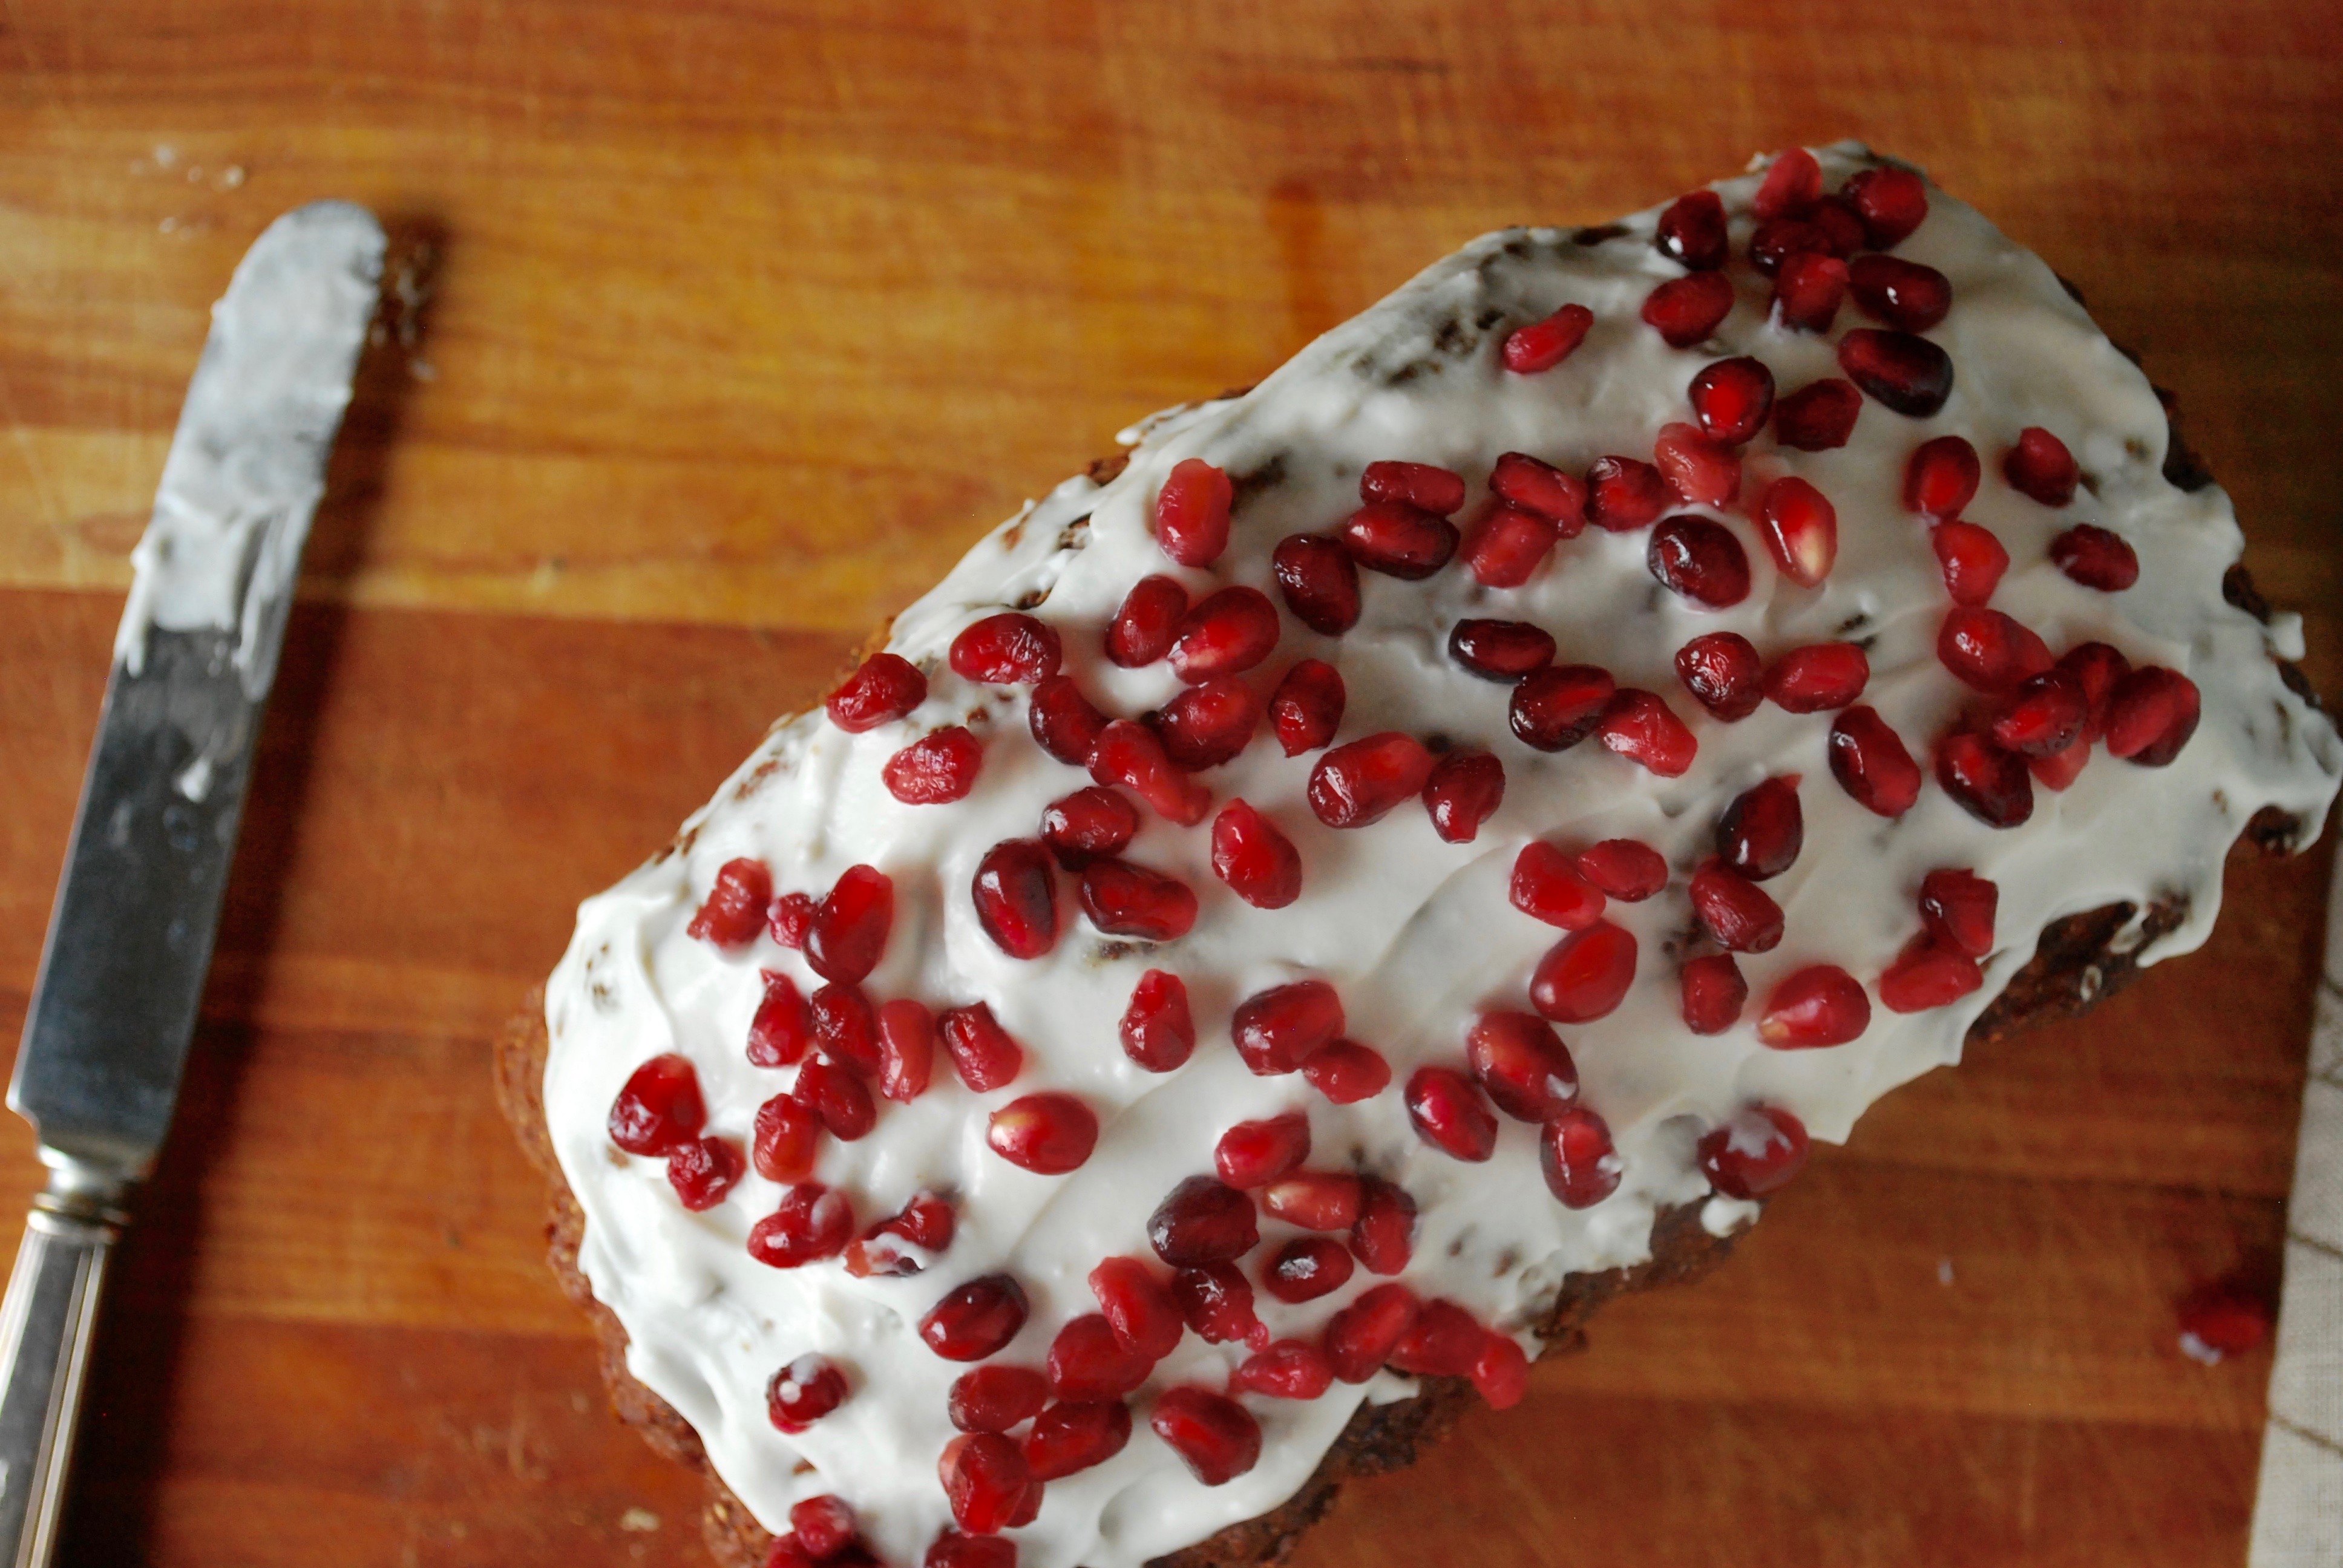
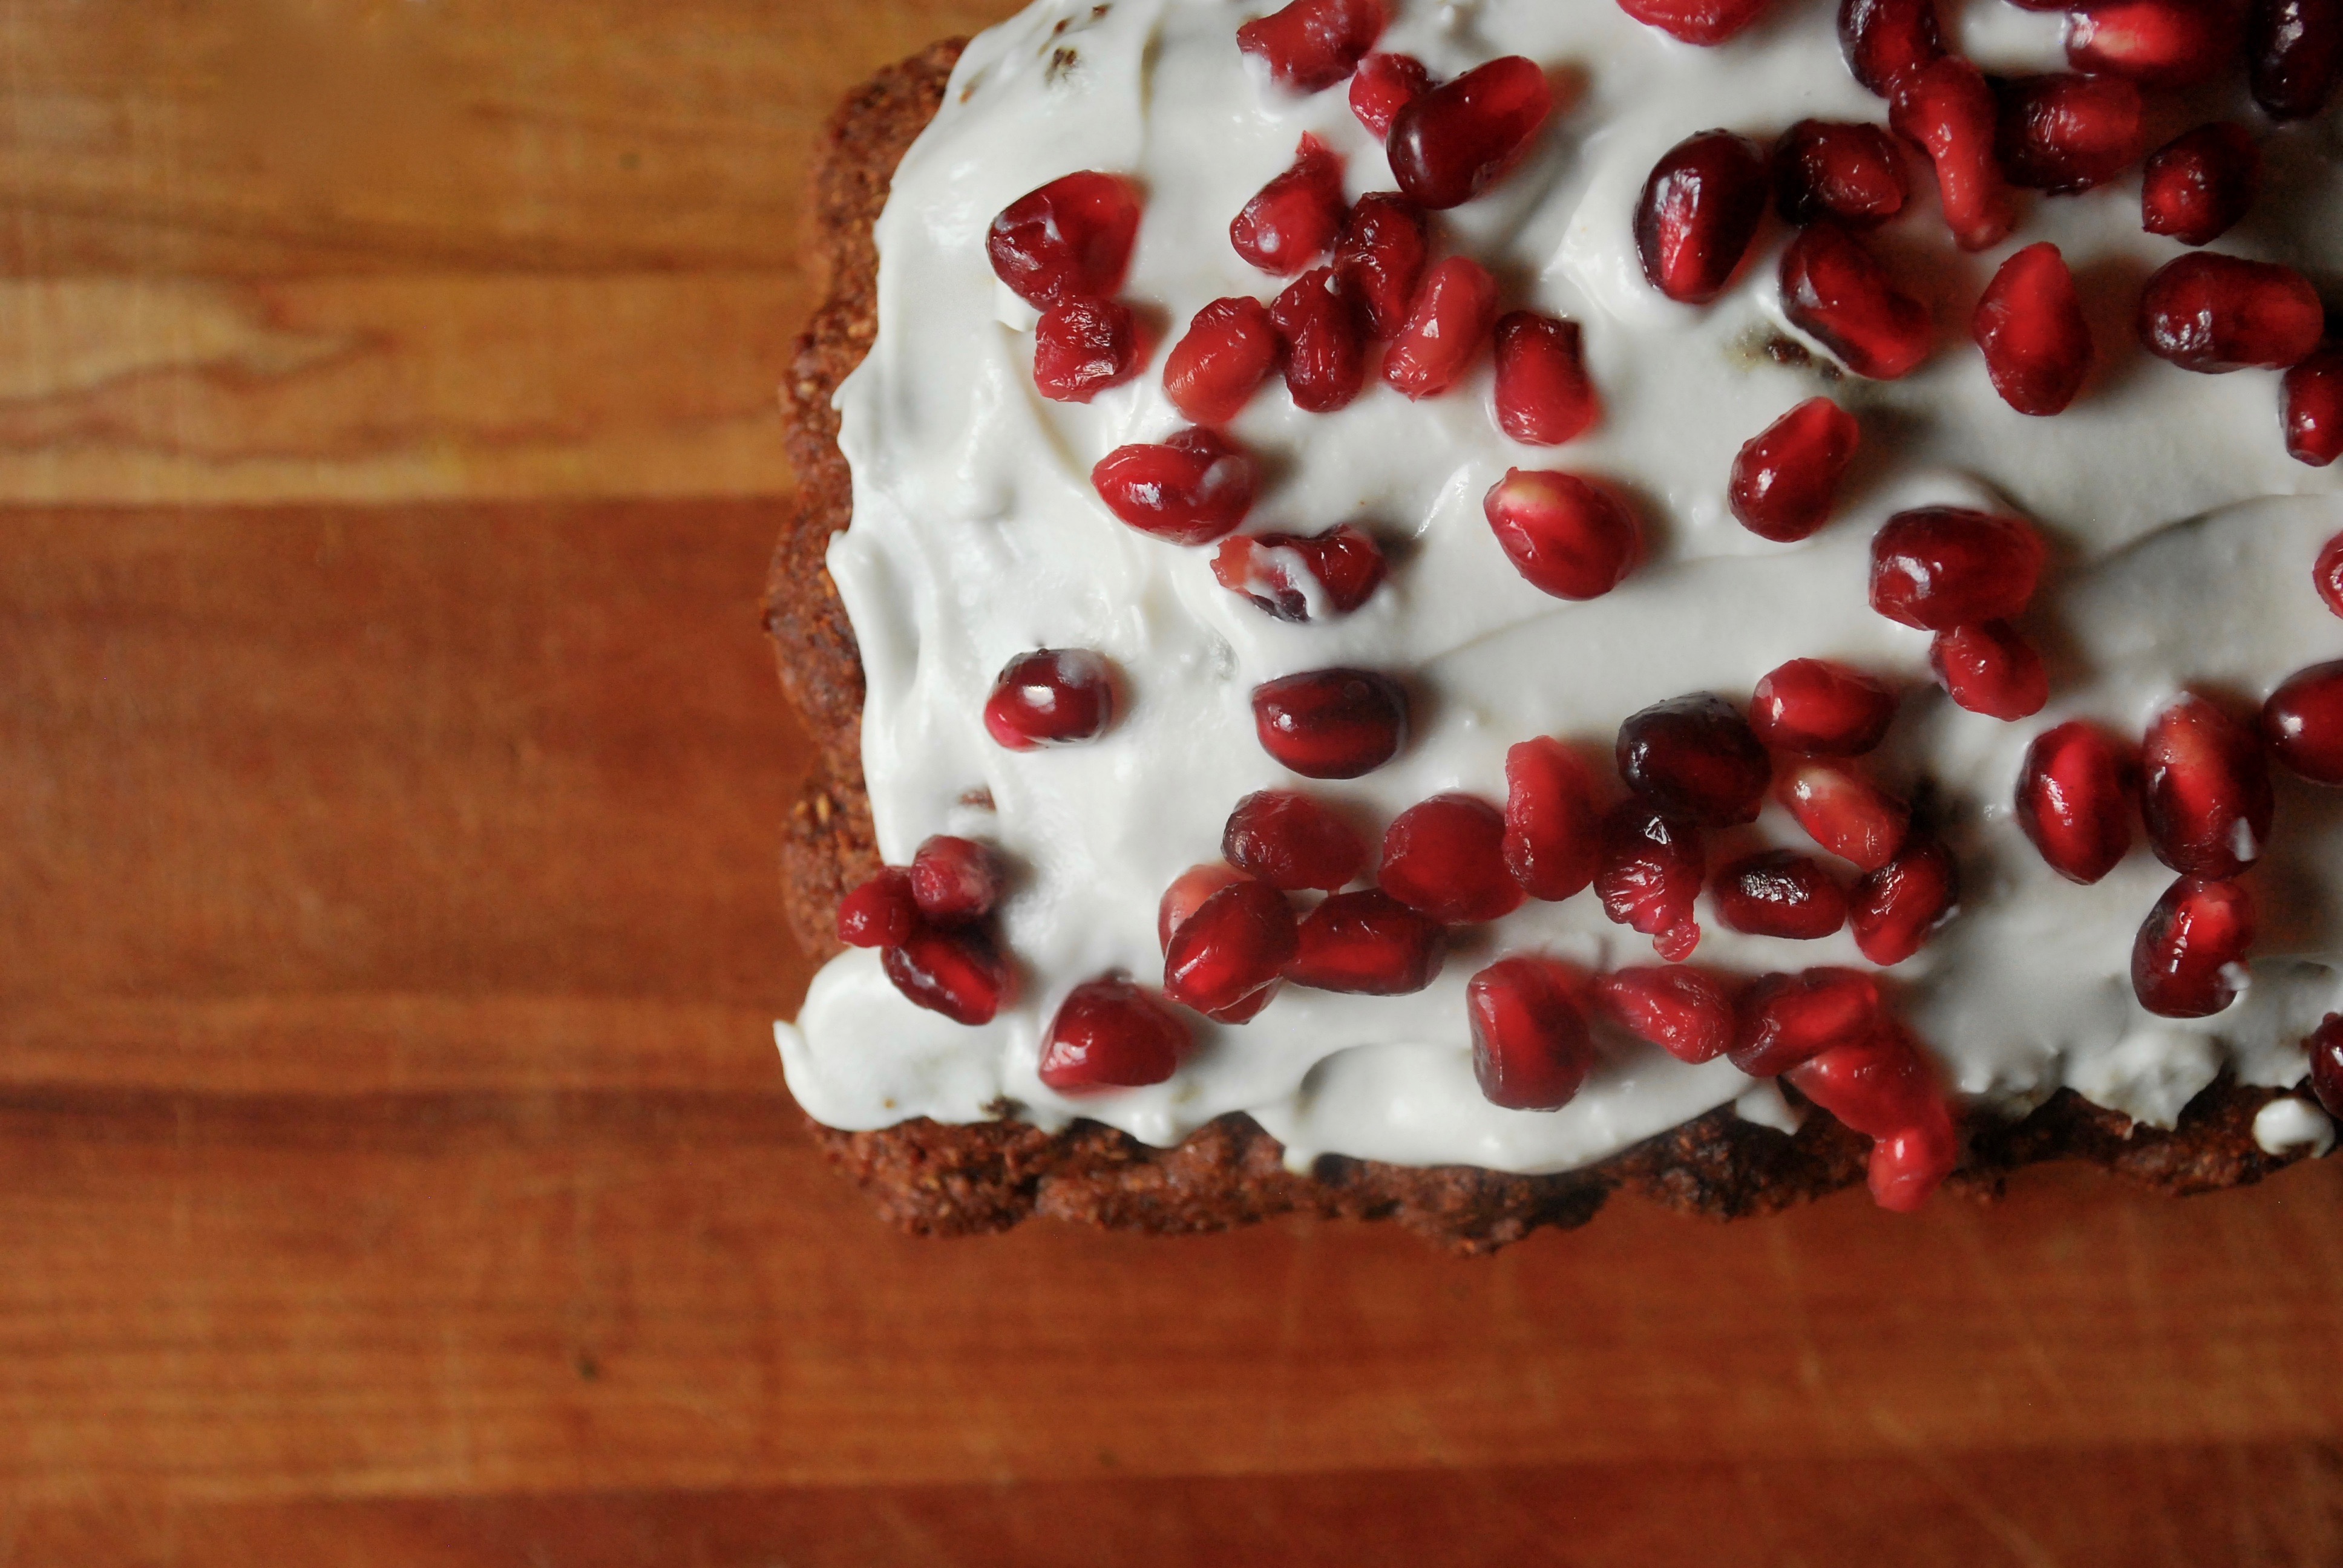
- Once the bread is cool you can add your frosting and top with pomegranate seeds to make it pretty!
- Get creative with your toppings, other ideas are red and green sprinkles, crushed candy canes, or cinnamon. I used pomegranate seeds because they are super healthy and it looks really festive. Their tart flavor also plays well with the sweet frosting and spicy bread.
OMG it’s SOOO GOOD! I was actually pretty proud of myself on this one.

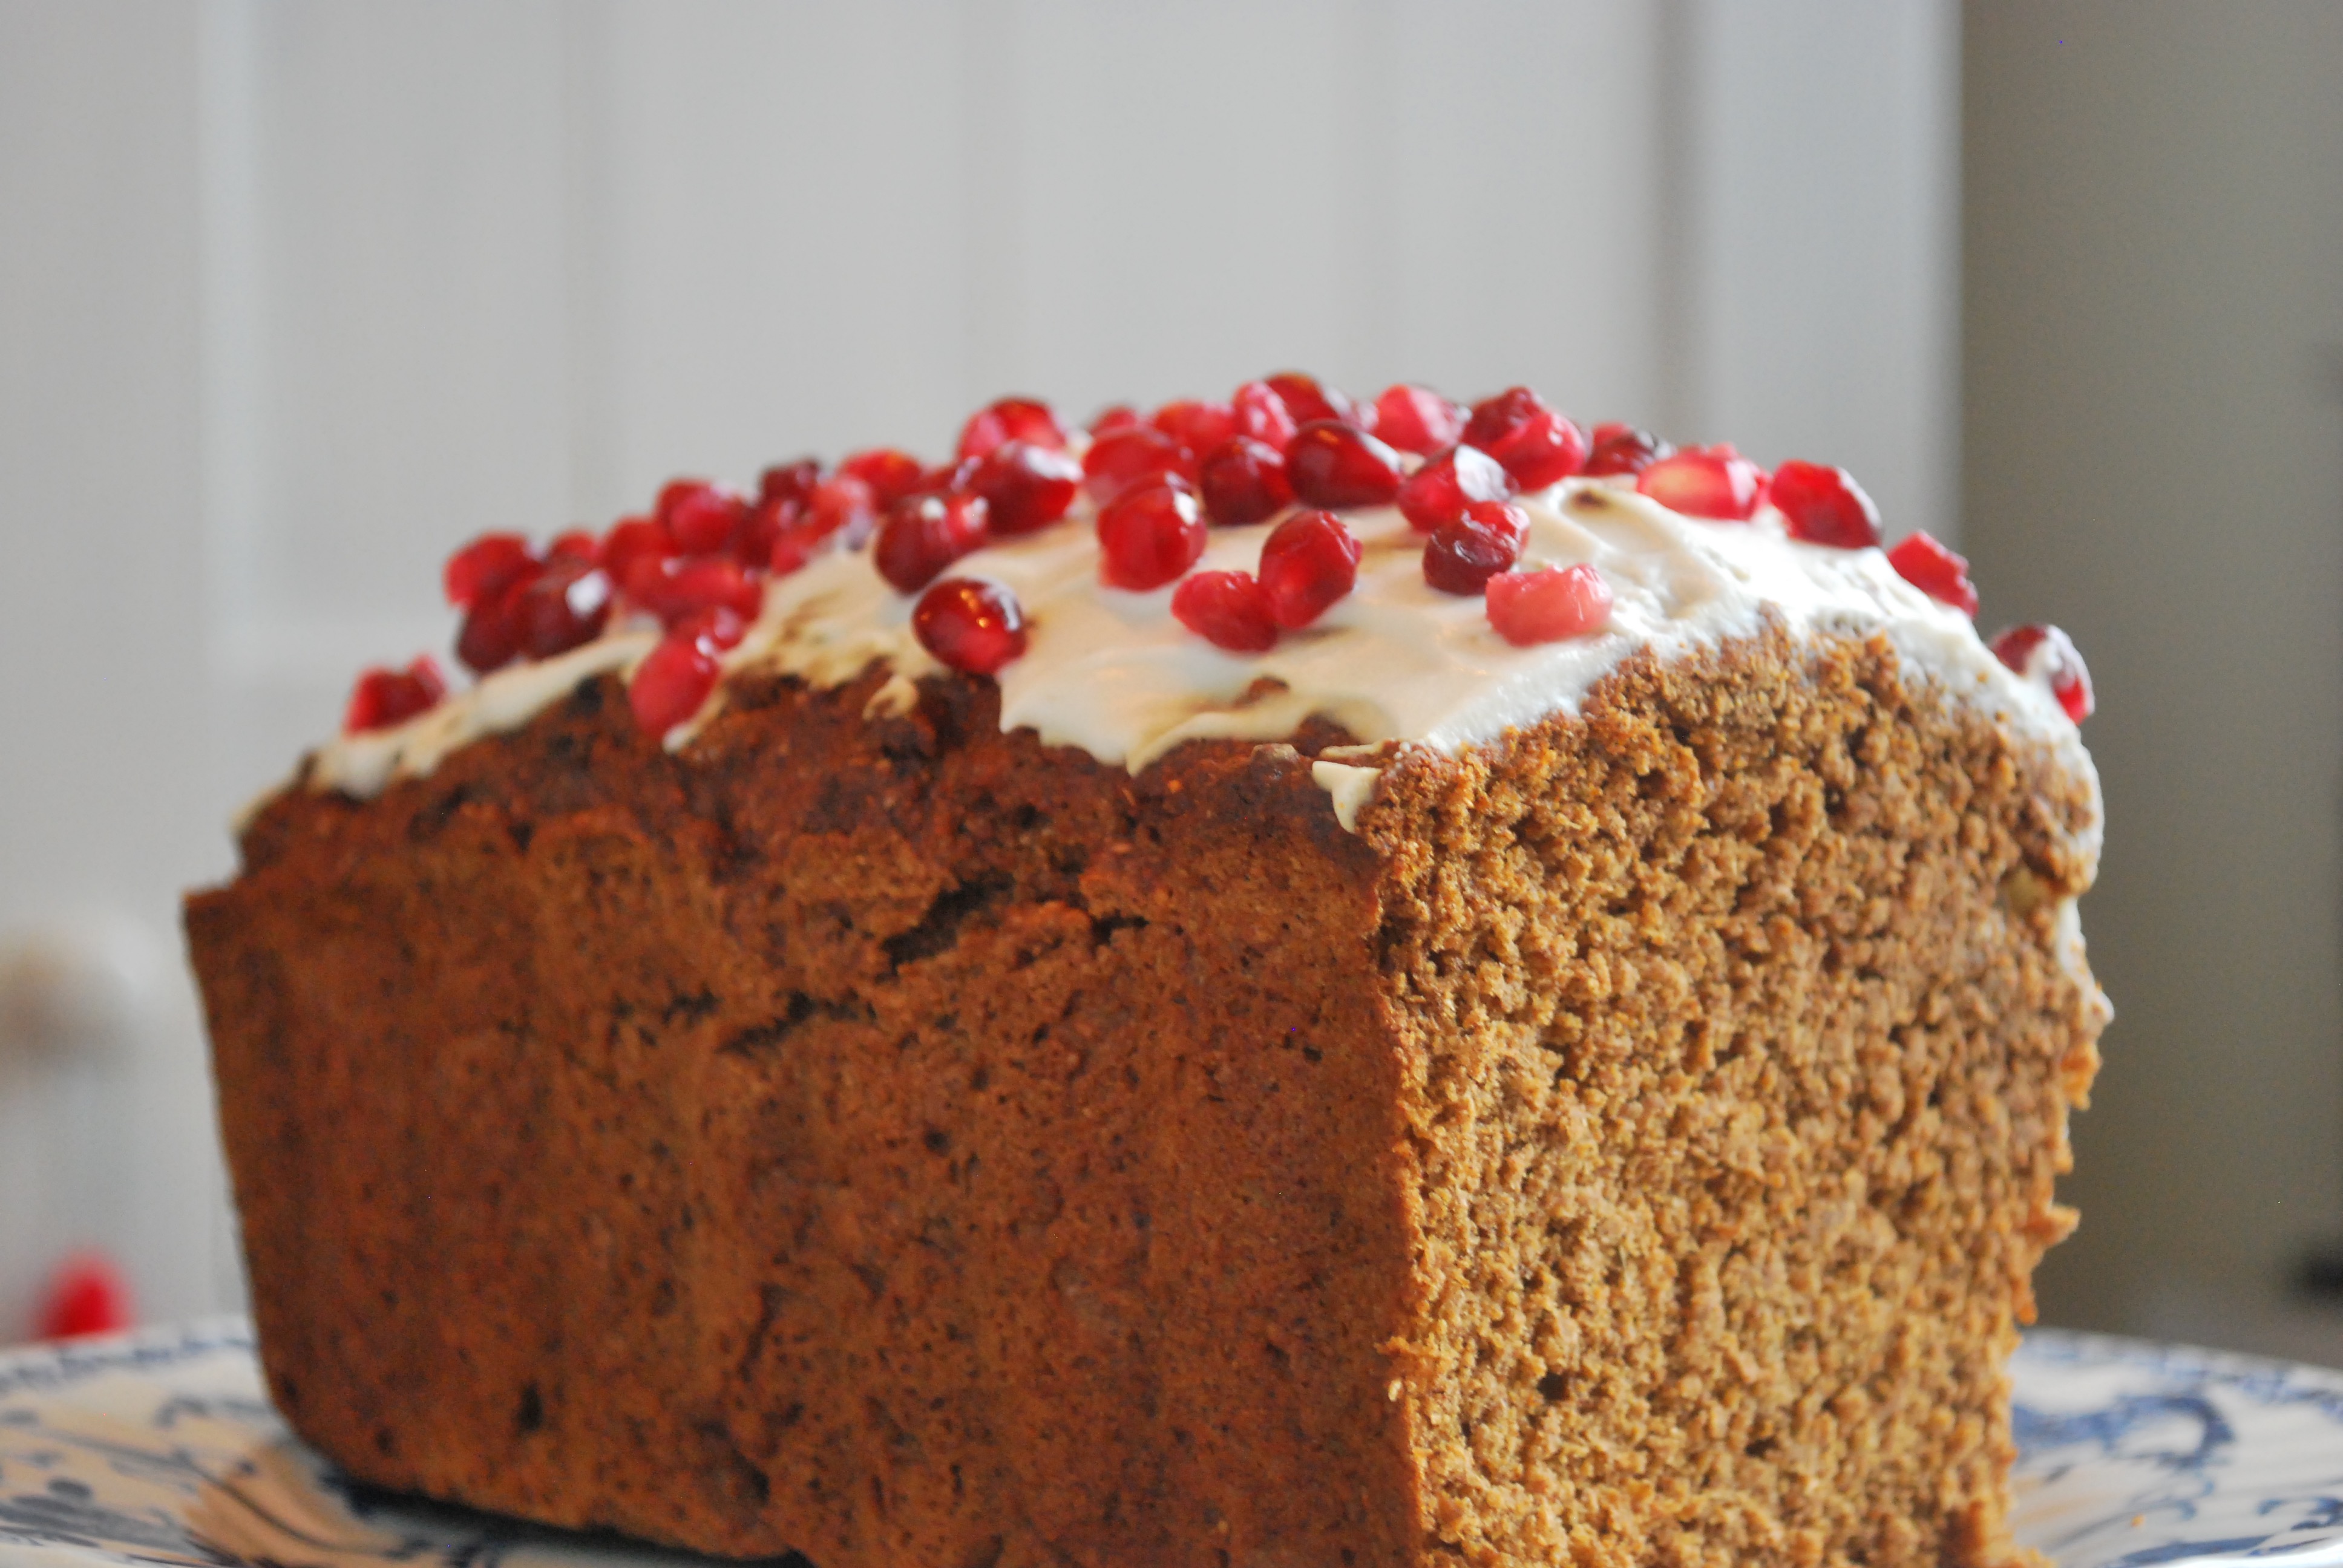
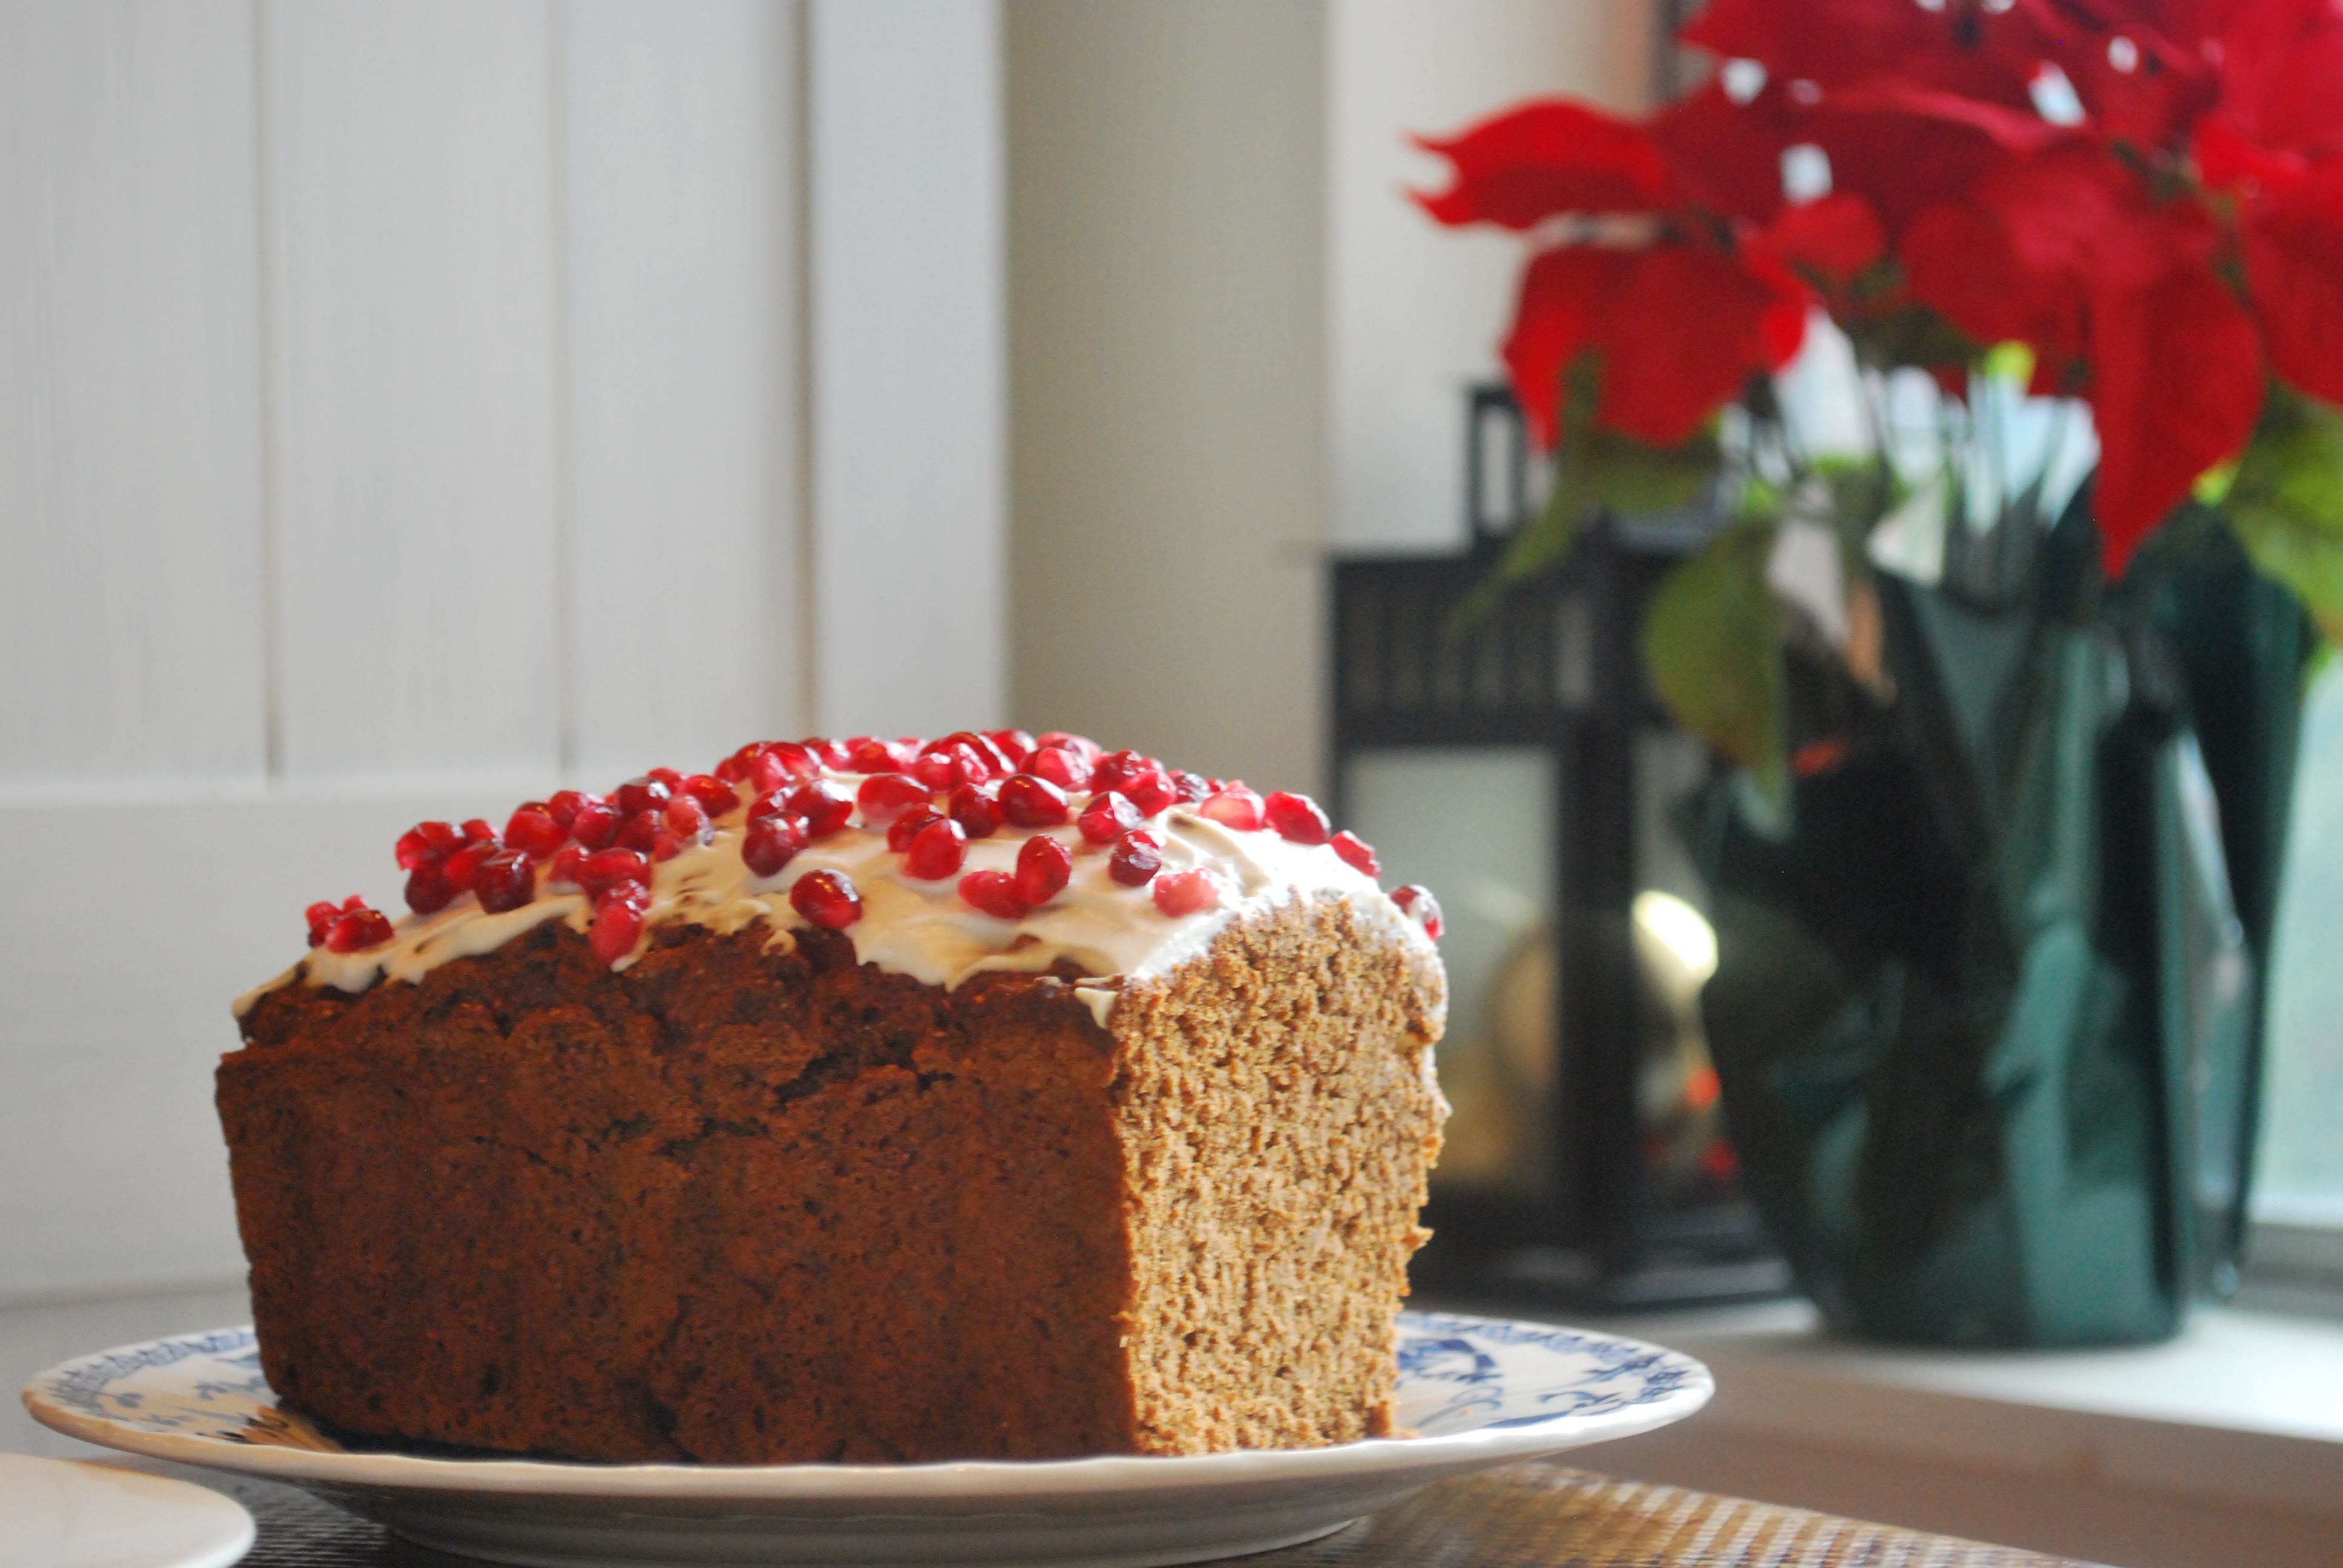
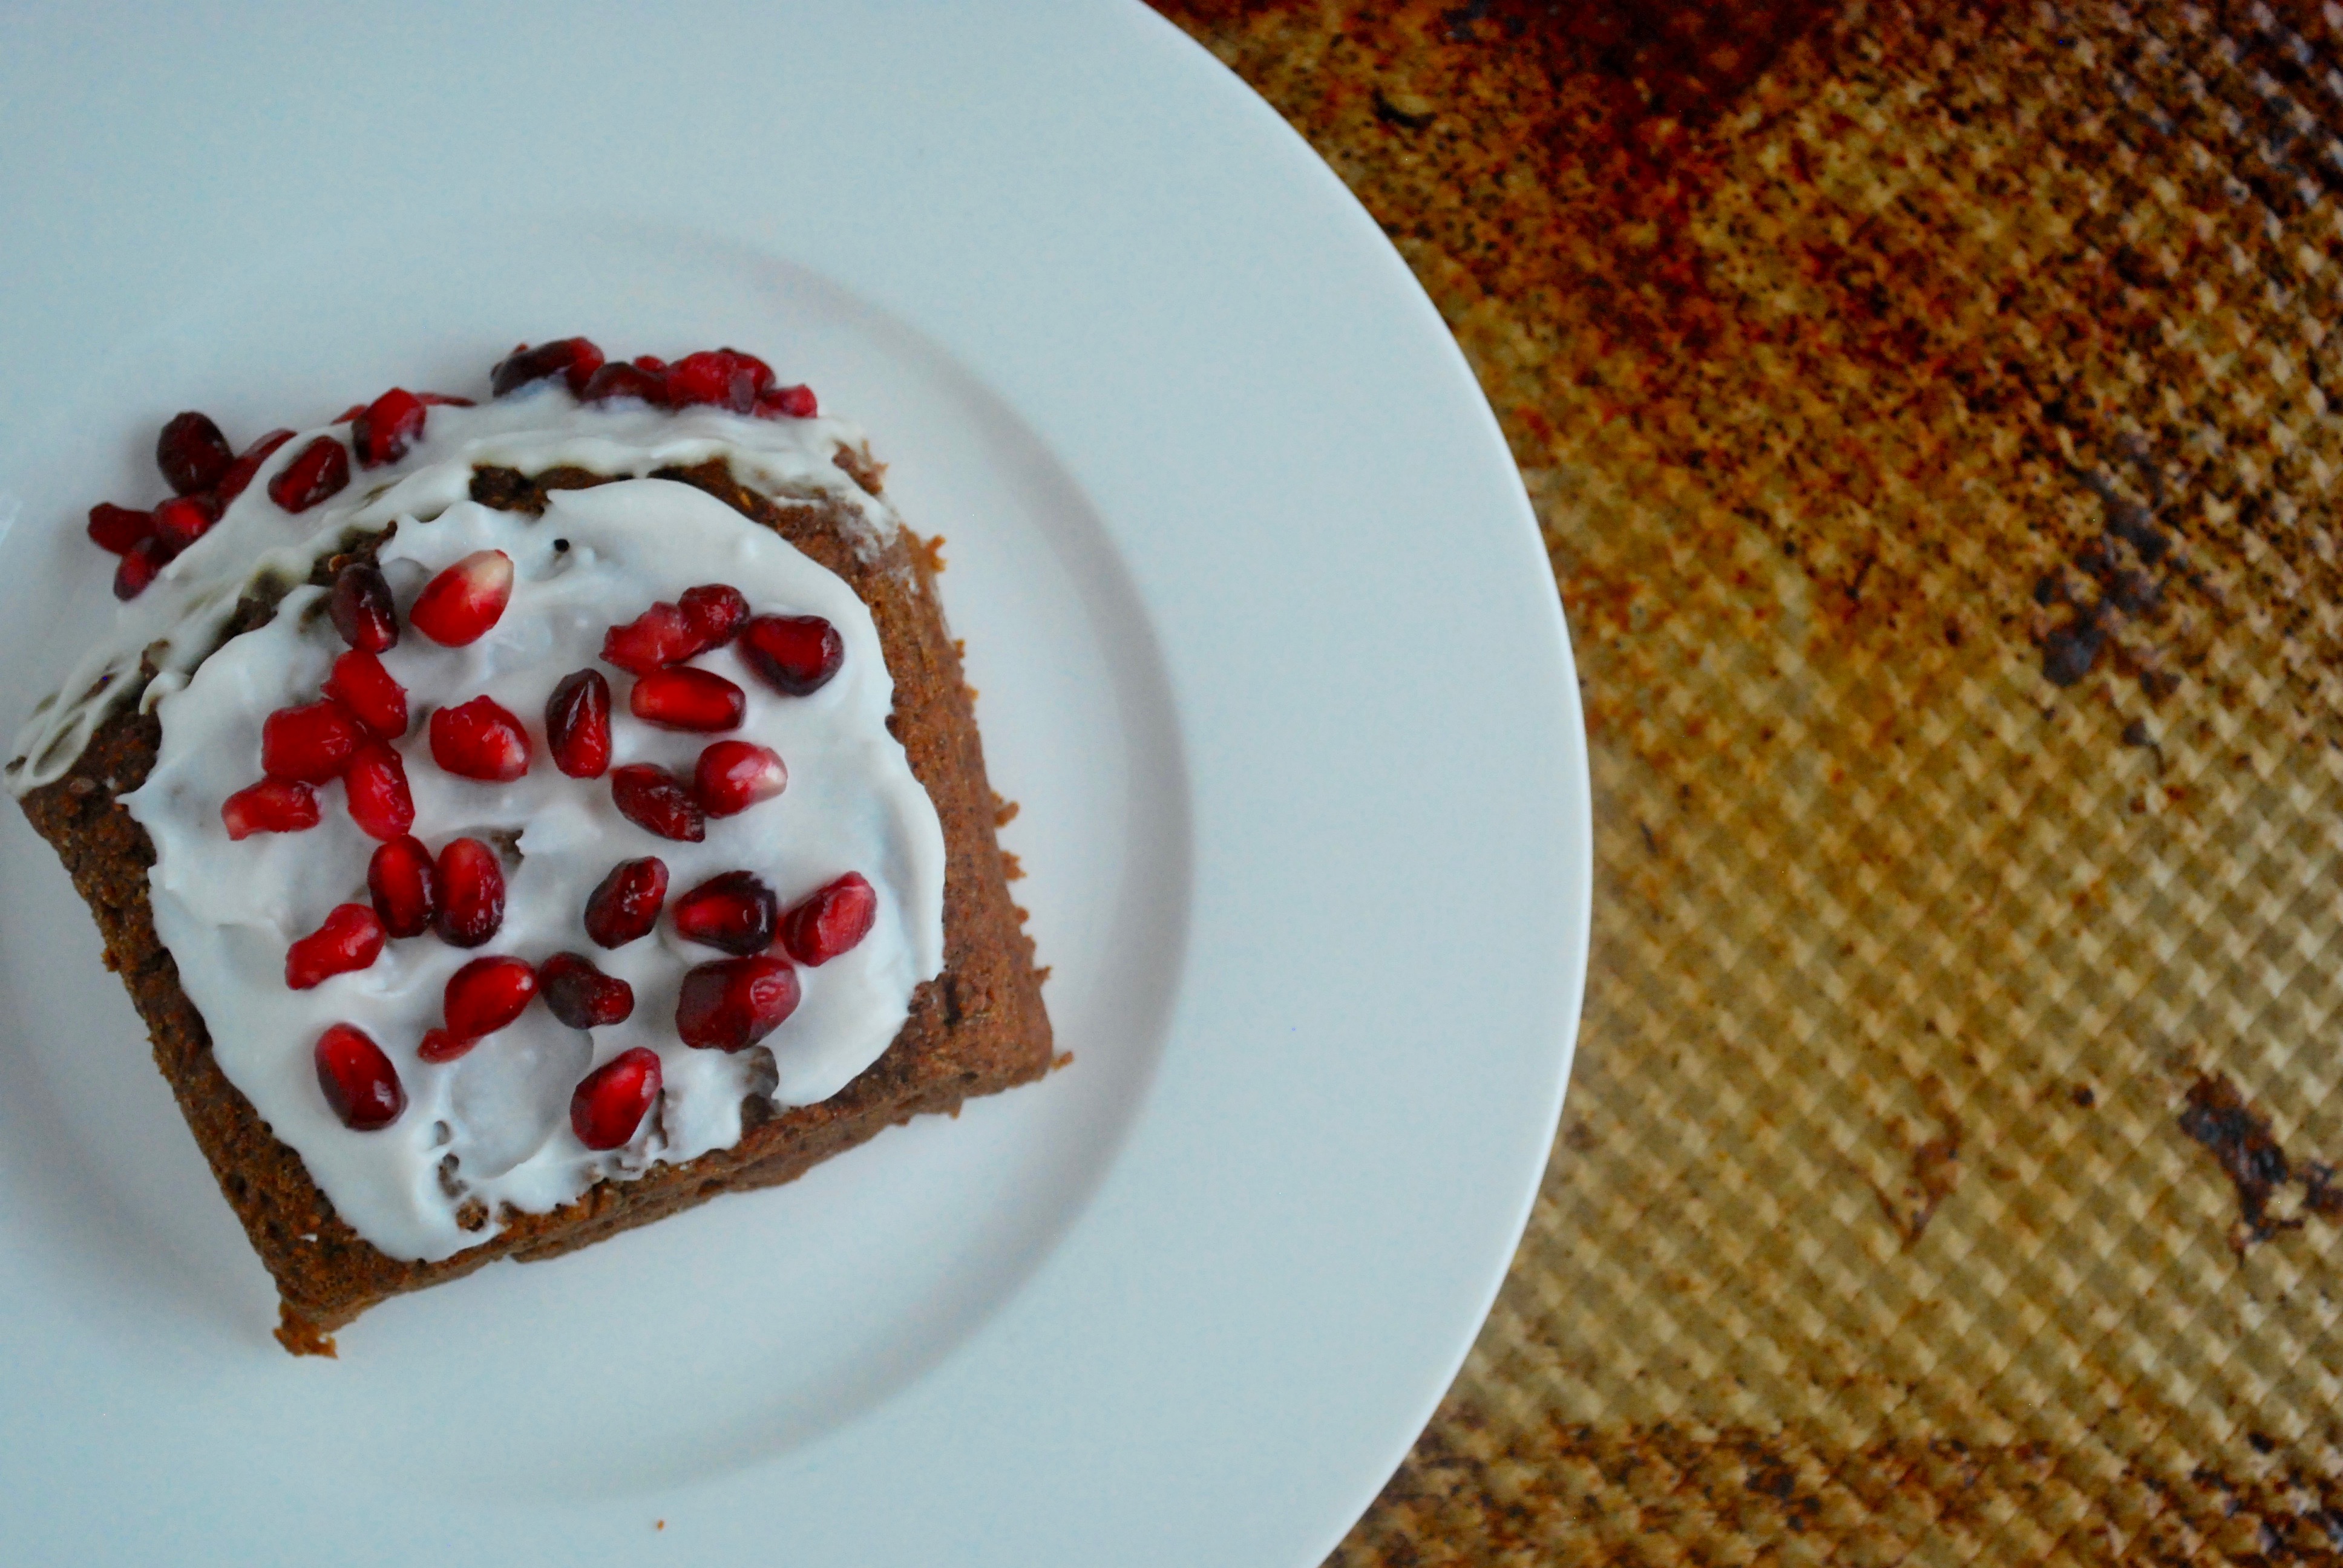
This healthy gingerbread meets all of my criteria: healthier alternative to a delicious classic, simple enough, seasonal, AND it looks impressive if you take it to someone’s house. I think this gingerbread is perfect for a holiday brunch because it’s somewhat sweet but not too much like dessert.
Happy baking!

by Caroline | Oct 17, 2016 | Recipes
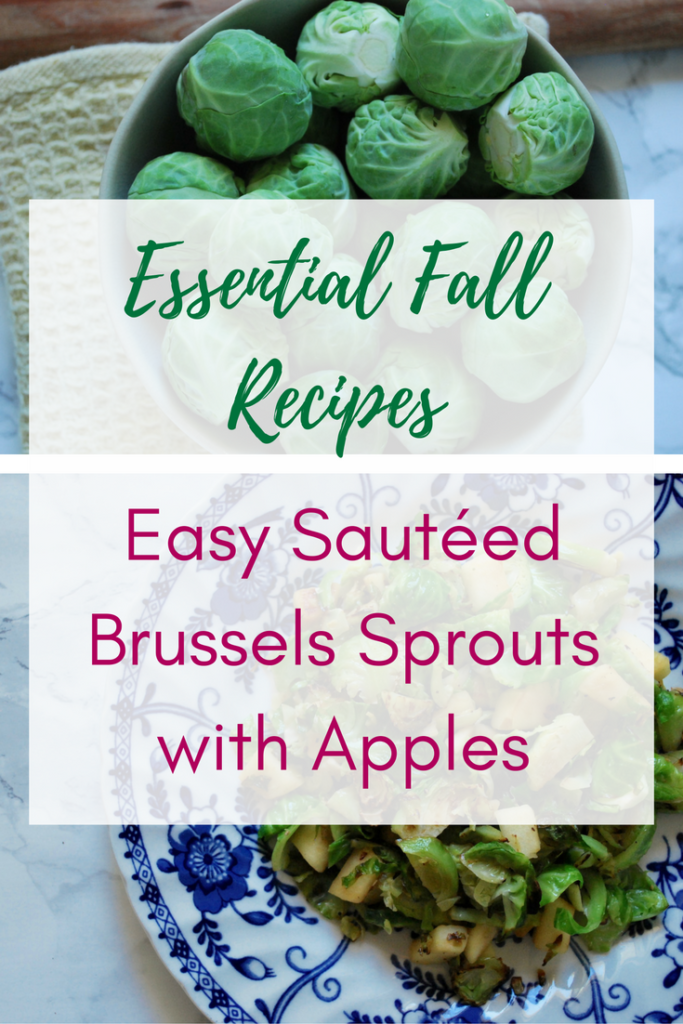
Ah, Brussels sprouts, another one of my favorite vegetables to cook with this time of year!
First of all, I think you’re going to absolutely love this easy fall dish and how simple it is! I’ve been really into fall cooking lately! Like, give me all of the apple and pumpkin flavored things right now. Yet, when I come across recipes on Pinterest I’m often turned off because they involve just too much work. No matter how good it looks, I know I won’t realistically make it.
My whole philosophy when it comes to recipe creation is to make it as simple as possible in addition to being healthy and delicious. While there is a time and a place for the show stopper recipes, you don’t have drive yourself insane over dinner every night. You don’t need to buy a ton of ingredients you will never use again. Furthermore, you don’t need to spend an hour making dinner. #thelazychef
I’m giving you permission to ease up on yourself. You don’t have to impress everyone all the time.
 As a result of years attempting wild and unrealistic recipes, I began to develop some skills for simplifying complex recipes. I like to come up with two or three main ingredients that go well together and play around with different combinations. Starting from there, it’s much easier to become an expert improvisor because it’s not as intimidating as working with dozens of ingredients.
When I came up with this apple Brussels sprout dish I knew I wasn’t going to stop the earth’s rotation with any groundbreaking innovation. No, I wanted something I could make for dinner in under 15 minutes. I also wanted a dish that could either be a side, or a light main dish. And of course it had to be irresistibly tasty.
The flavors this season are so fun to work with, I want to embrace all that is fall. Most of all, I want you to come away from reading this with a really delicious “do-able” dinner.
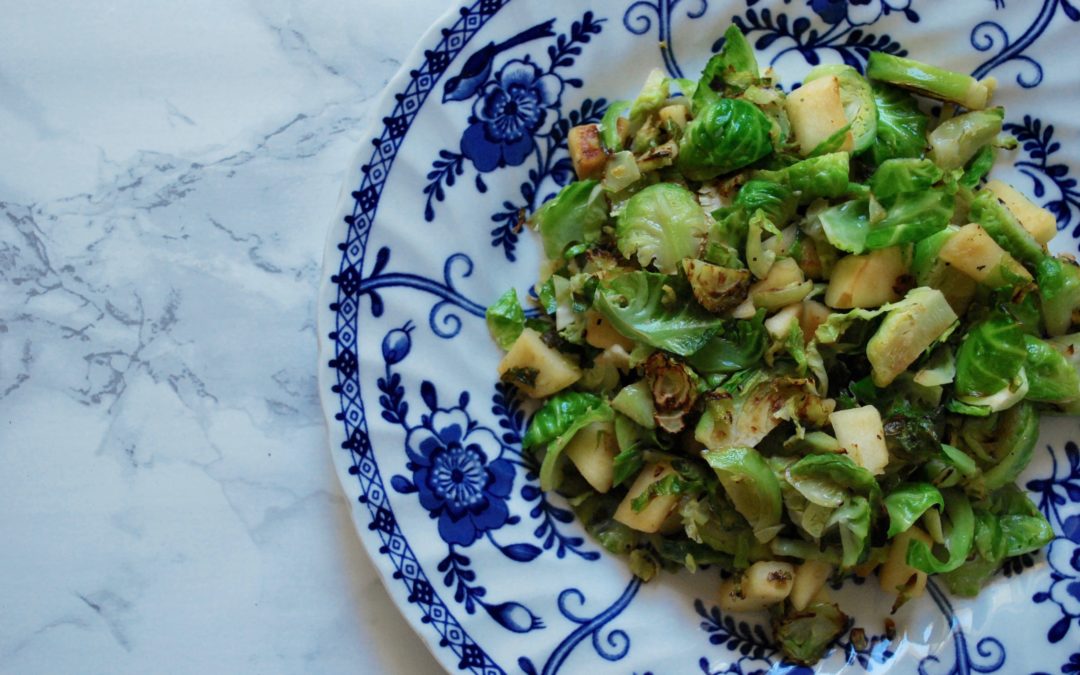
Sautéed Brussels sprouts with apple
- 1 apple
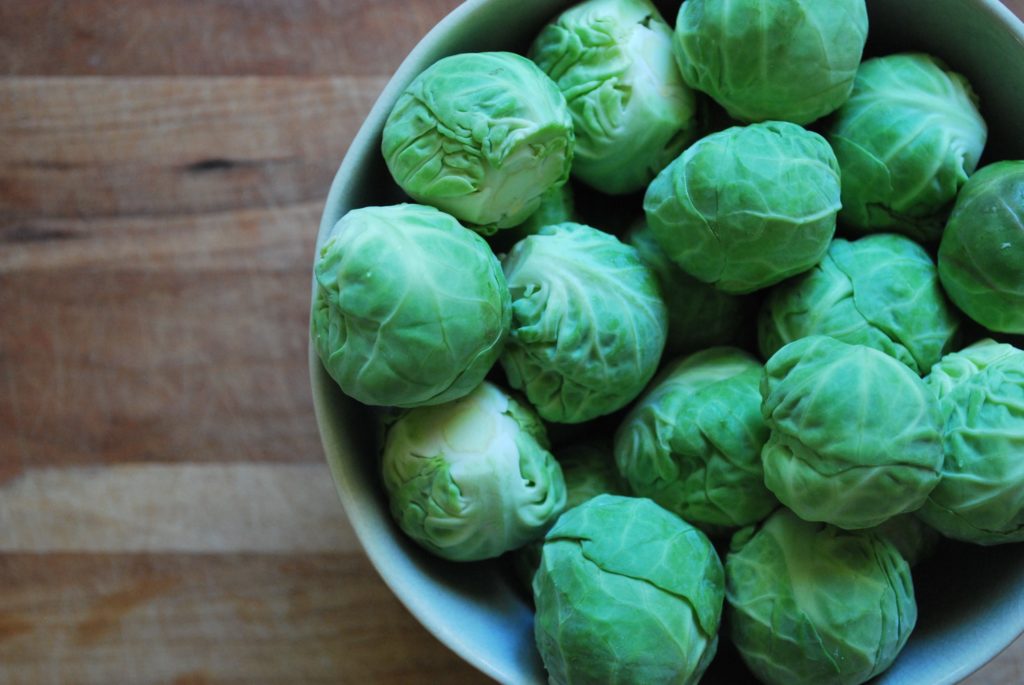
- 1 small bag or bunch of Brussels sprouts
- Optional: craisins, chicken, pork, or bacon.
Directions:
- Chop or shred the Brussels sprouts and sauté in a pan on medium heat with some coconut oil for about 5-8 minutes (i’m assuming you have some kind of oil in your house, which is why it’s not listed in the ingredients).
- Peel and dice the apple into small cubes and add it to the Brussels sprouts and sauté for about another 5 min with a lid until soft and lightly browned, stirring occasionally.
- Lightly season with salt and pepper to taste.
- Optional: Add in chopped up bacon, it will offset the sweetness of the apple, and add a nice crunch…and I just like to add bacon to things.
- Optional: Garnish with craisins to make it look pretty.
- Finally, serve alone or as a side with roasted chicken or pork.
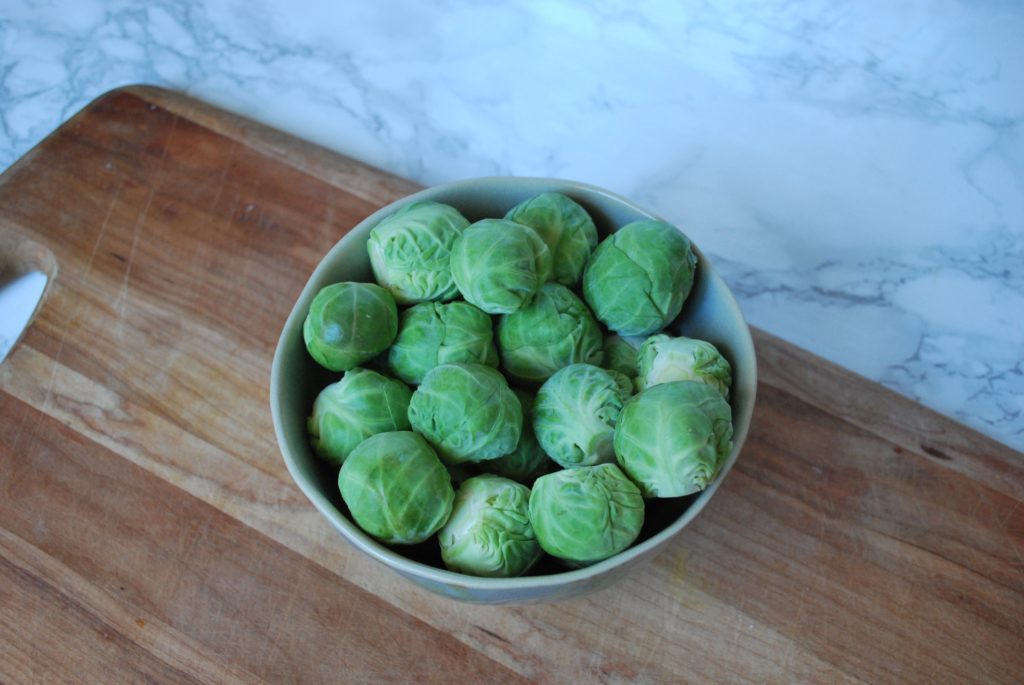
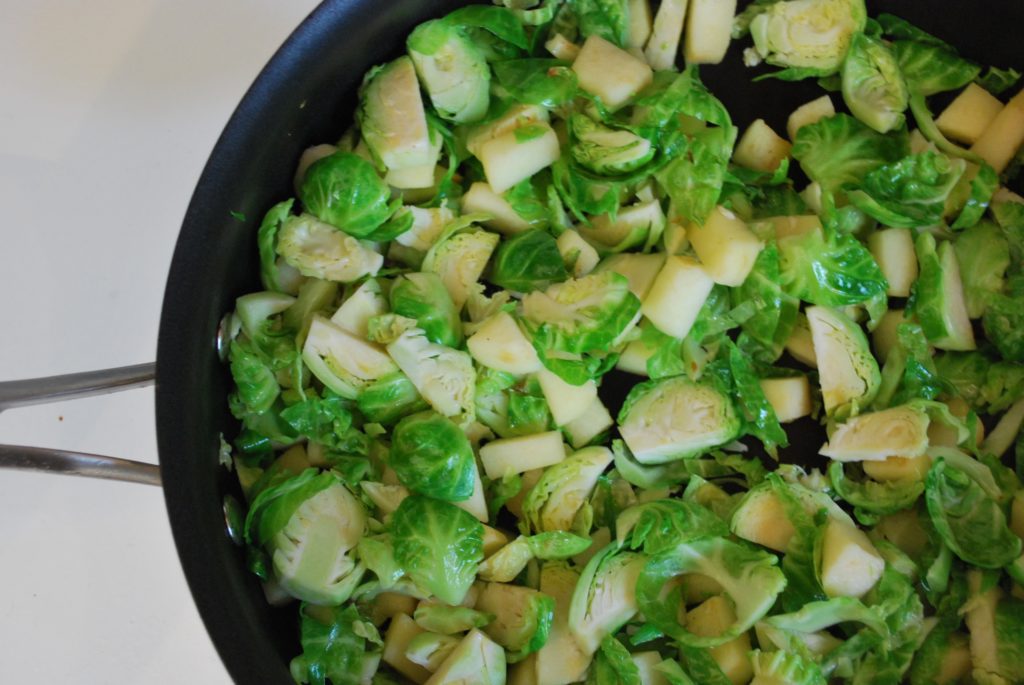
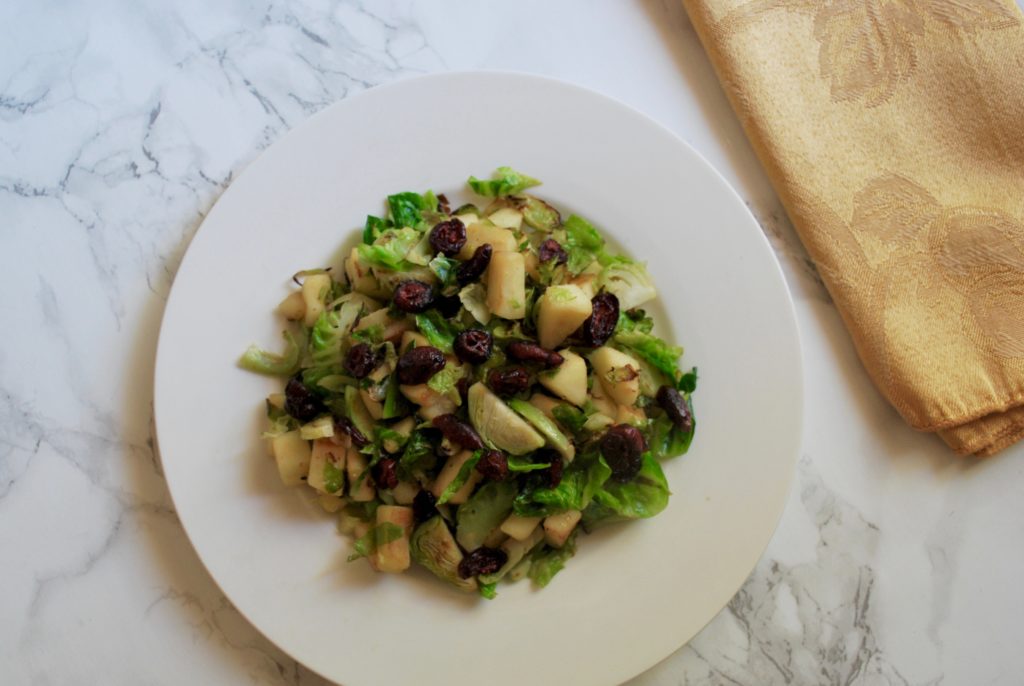
That’s it!!!! So freakin’ easy! It should take about 15 minutes start to finish. Perfect for a weeknight dinner when you don’t have the time to be Martha.
xo,


